Filming real estate video content is hard work. But the potential payoff is huge. This is why every agent should know how to create B-roll for real estate videos. B-roll can take your typical home tour or market report video to brand new heights. So if you’re interested in creating engaging content that attracts new clients and makes you look like a pro, then it’s time to learn all about B-roll.
But, before you can use this filming technique effectively, we first have to understand what B-roll is.
What is B-roll?
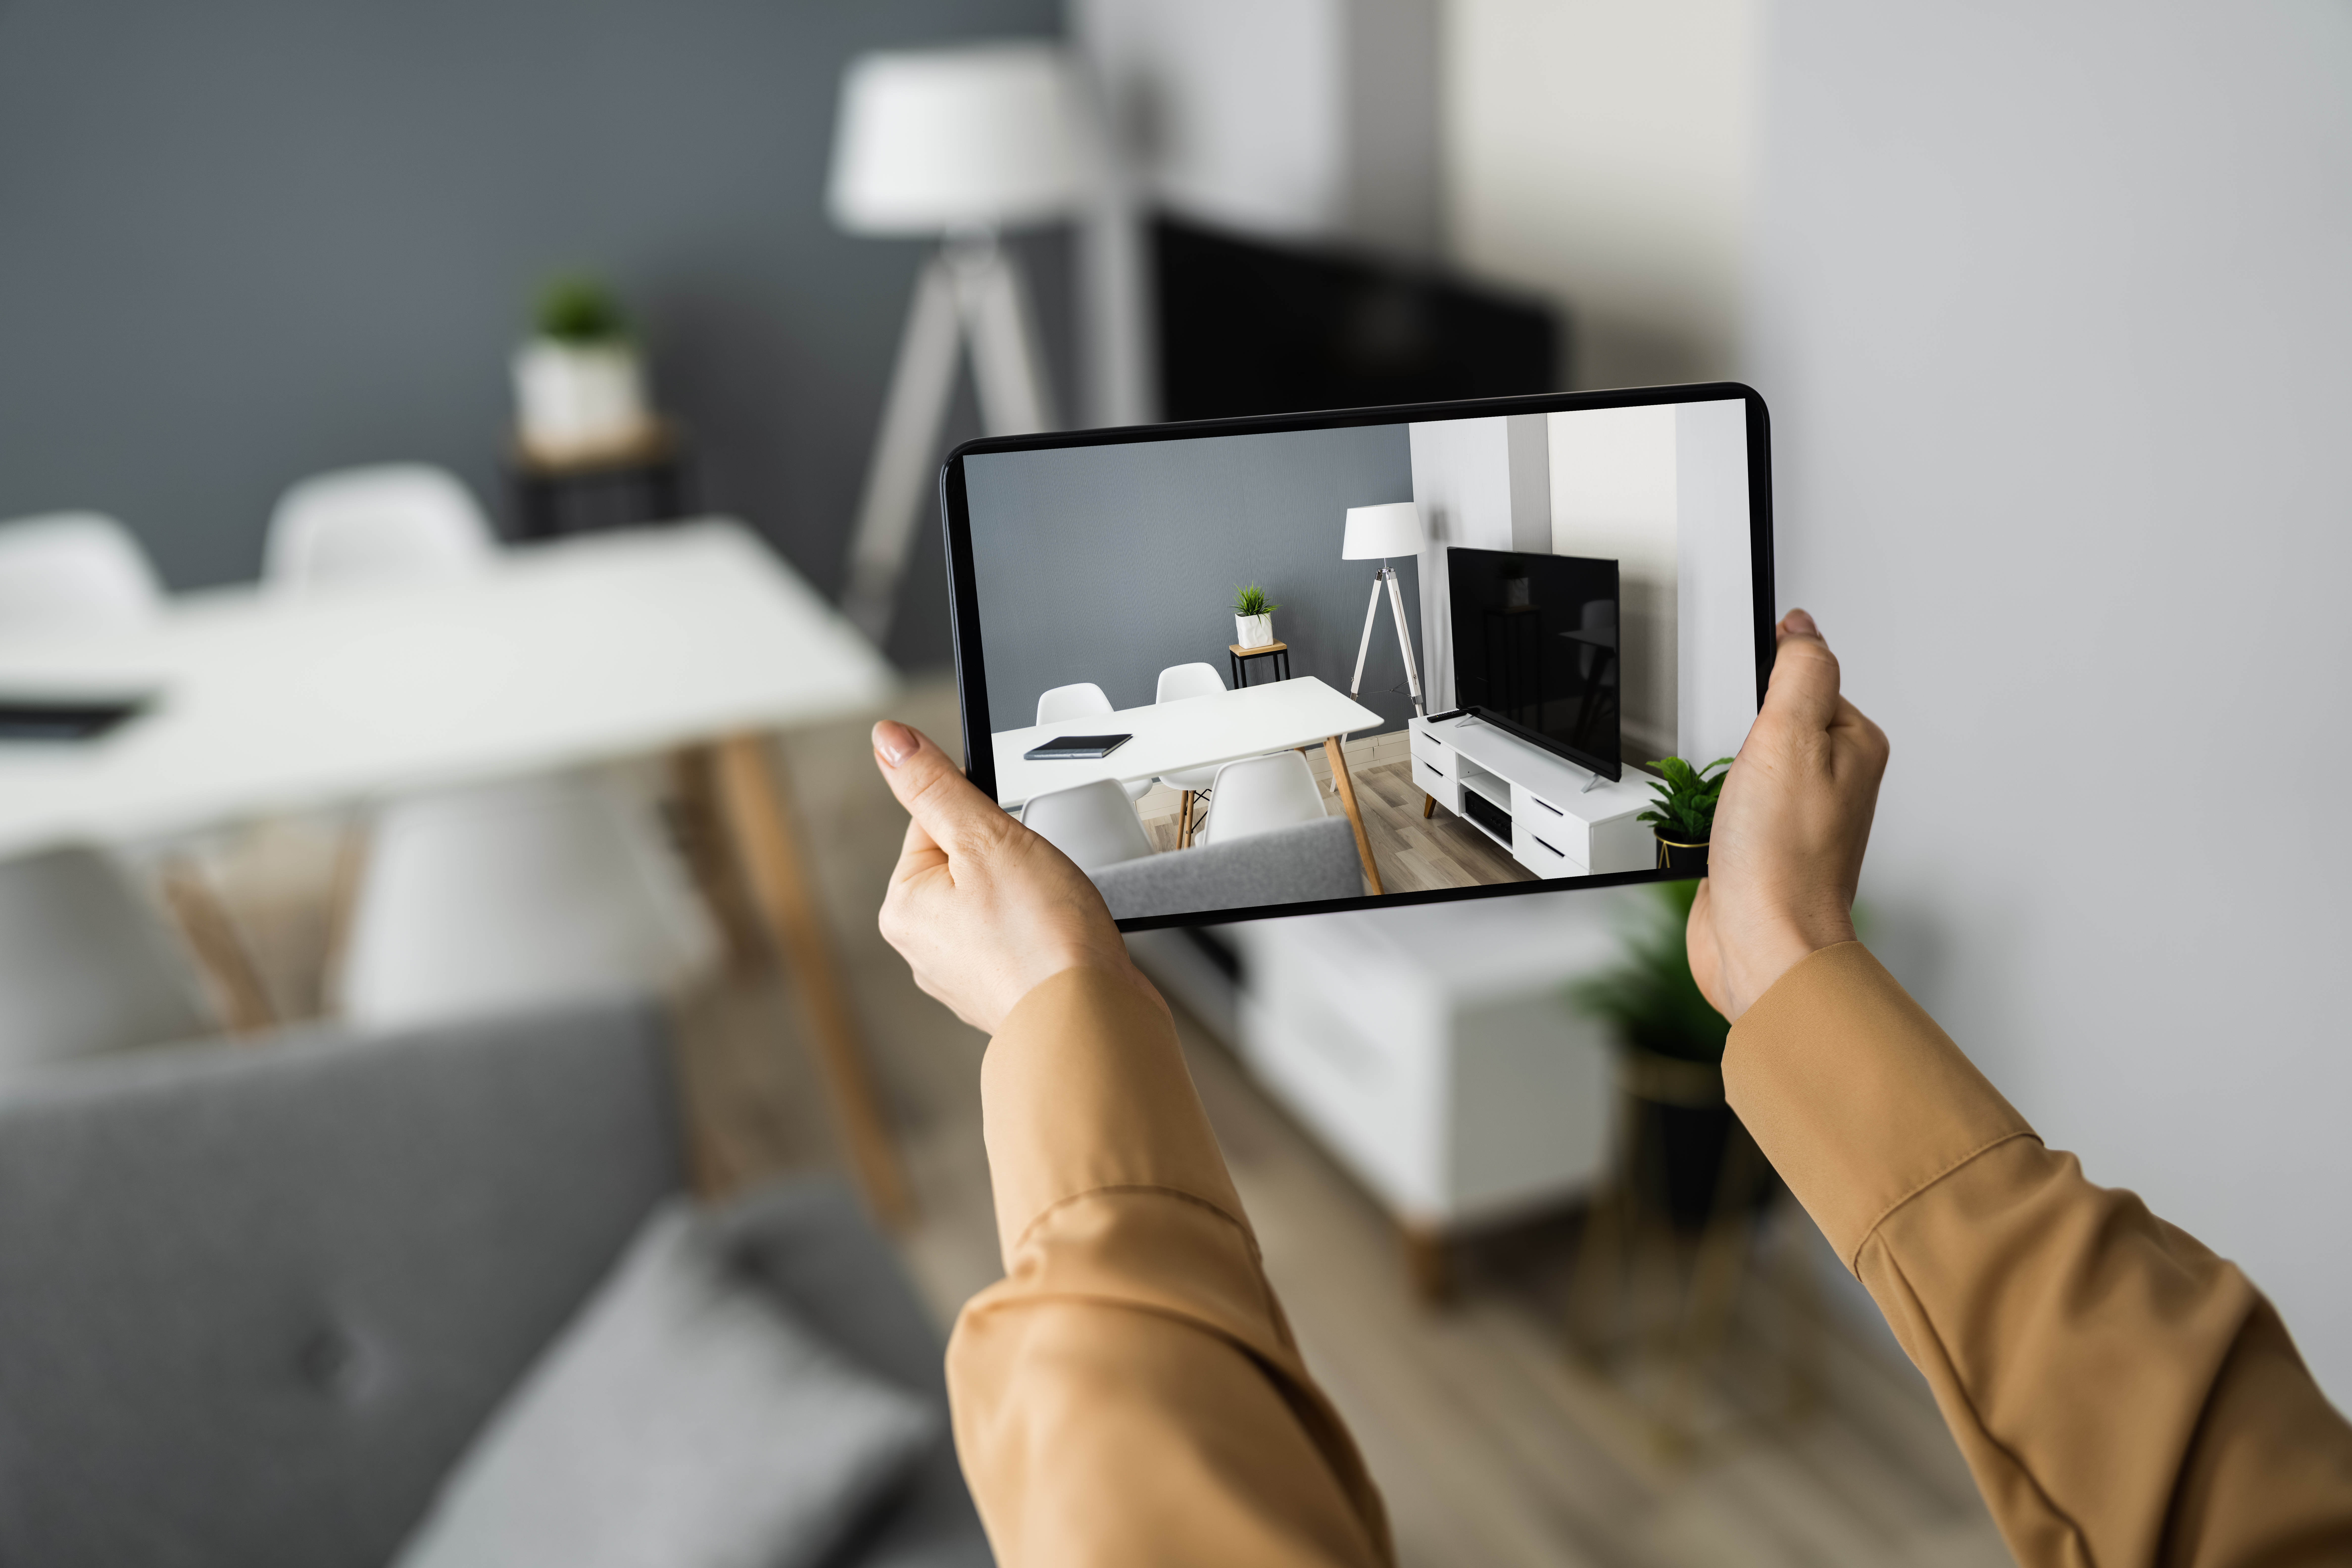
If you’ve never heard of B-roll, it’s a pretty simple concept. B-roll is supplemental or alternative footage that is intercut with the main shot.
So, for example, say you’re filming a home walkthrough. In this case, your main footage will focus on you walking through the home and talking about noteworthy features. Throughout the video, you will edit in alternative footage or B-roll.
These B-roll shots would play over the top of your voice to make the video more visually stimulating. For example, if you’re talking about how massive the backyard is, you might edit in a drone shot that pans over the property so viewers can really see the scale of what you’re describing.
B-roll is commonly used in market reports, community videos, home walkthroughs, and interviews with local business owners to liven up the footage.

When Should You Shoot B-roll For Real Estate Videos
Generally speaking, it’s best to shoot your B-roll on the same day that you shoot your main footage. This will help give your video continuity and will save you from making multiple trips to the location.
Continuity is highly important to viewers. From the clothes your video subjects wear to the lighting in your video, you want everything to look the same throughout. That way, all of your footage fits together cohesively.
It might seem small, but even a slight change in lighting between shots can be highly distracting for the viewer. And you want them to feel engaged when watching, not distracted, right? Because distracted viewers click away.
Now, there are some exceptions to this rule.
For instance, if you’re talking about the importance of natural light, you might want to mention that some buyers will want to see the property at night. Here would be a great spot to add some alternative shots of the property in evening lighting, instead of the daytime lighting of all your other shots.
This won’t negatively affect the continuity of your video because the lighting change is intentional and serves a purpose.
If you’re lucky enough to have someone helping you, it’s a good idea to get them to take notes while you film. During the interview portion of your video, they can be writing down ideas for B-roll. That way you can get straight to shooting after the main portion is filmed. You’ll be less likely to miss a shot this way as well.
Be Consistent With Your Equipment
When you create B-roll for real estate videos, consistency is key. Ideally, you want to create B-roll that aesthetically matches your main shot.
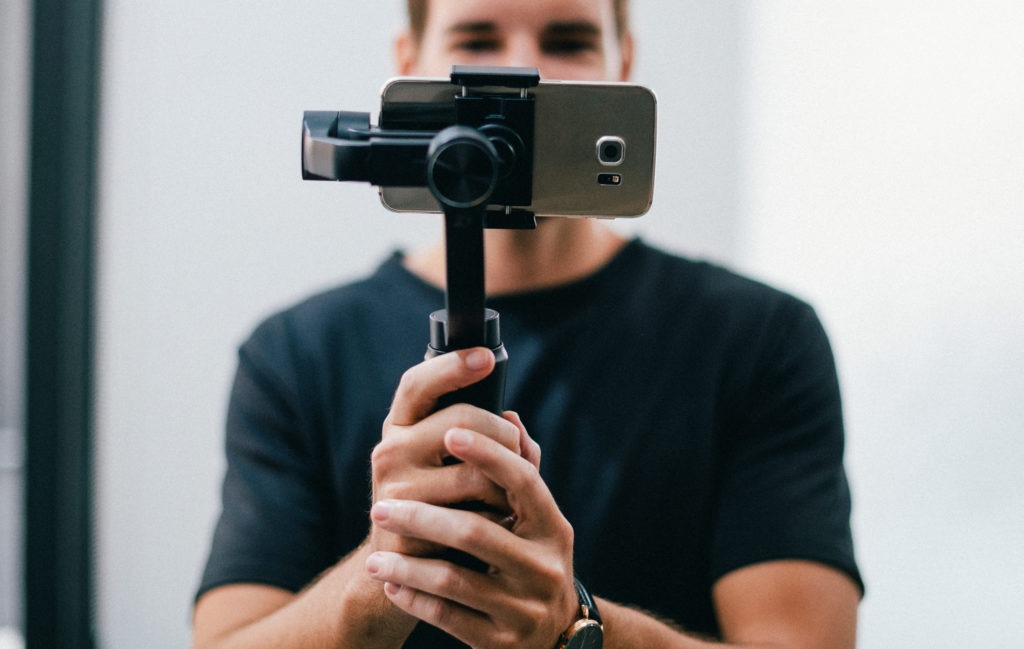
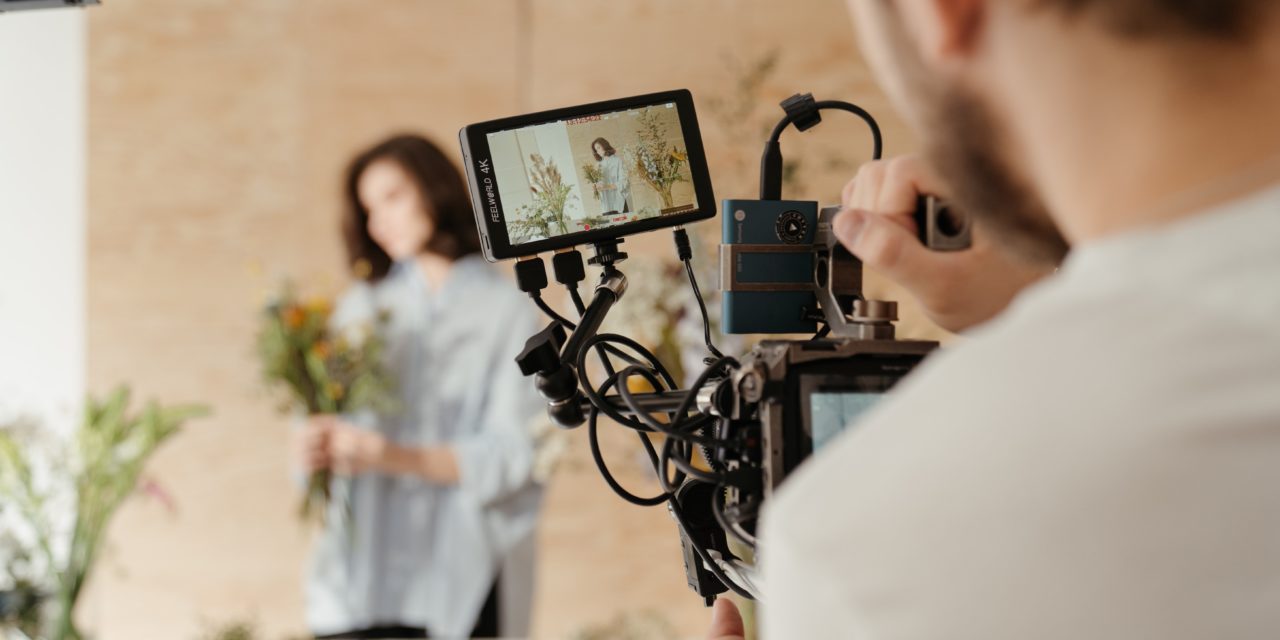
Imagine you’ve filmed a stunning home tour with a high-quality DLSR camera and a gimbal. Your main footage is crisp, clear, and steady. The viewers see this and think, “This looks great and professional, this agent knows what they’re talking about.”
Then imagine you shot your B-roll for that video by hand on your smartphone. You didn’t notice at the time, but the footage is shaky, and a little out of focus. These shots aren’t consistent with your main footage and will throw the whole video out of whack.
This kind of inconsistency makes it seem like you don’t know what you’re doing, and will cause the viewer to click away to someone else’s content.
Luckily, there’s plenty of video equipment out there that can help you keep your shots steady and consistent.
As always, you shouldn’t let a lack of hardware stop you from filming. The goal is to be as consistent with your shots and camera movement as possible.

Shoot More Footage Than You Think You Need
Imagine this. You’ve just spent all day filming. You’re finally sitting down to edit your footage from the day, only to find you’re missing a key shot that would tie your whole video together. Talk about a nightmare.
To avoid this situation, always be sure to shoot more B-roll than you think you’ll need.
This applies to both the number of different shots you get and how long you film each shot for.
Remember, just because B-roll shows up in the finished project as a six-second clip, doesn’t mean the videographer only shot for six seconds.
And if you find yourself wondering, “should I also film this?” The answer is most likely, yes. Film everything you can think of that could potentially be used as B-roll for your project.
Even if half of it gets left on the cutting room floor, it’s still better than having to go back and re-shoot. Because, in some cases, re-shooting won’t even be an option.
Create B-roll For Real Estate Videos That’s Relevant
To create engaging and useful content, your B-roll must be relevant to what’s being said in the video. Shooting B-roll just for the sake of having B-roll will hurt more than it helps.
Picture this, you’re interviewing a local coffee shop owner in your town. And the owner shares with you that the building once operated as a small jailhouse many years ago.
In this case, you don’t want to add B-roll of people drinking coffee in the shop, as it’s not relevant to what’s being said.
Instead, ask the shop owner if he has any photos or videos of the old jailhouse that you would have permission to use. Alternatively, if there’s still evidence within the shop that the jailhouse existed (barred doors or an old sign, for example) you could film that too.
Remember, your goal with alternate footage is always to enhance what’s being said, not to distract from it.

How To Create B-Roll For Real Estate Videos When You’re Alone
What if you’re the director, videographer, editor, and actor for whatever you’re filming? Operating as a one-person band can be tricky, but that doesn’t mean you can’t still create incredible real estate videos with stellar B-roll.
When you’re filming alone, keep these simple tips and tricks in mind:
- Come prepared. When working alone you need to make sure you’ve got all the equipment you need before you head out. Additionally, drafting a shot list or storyboard for yourself will help ensure you don’t miss any opportunity for B-roll.
- Invest in some equipment. You don’t need to go over the top here, but steadying tools like gimbals and tripods come in even more handy when you’re working all alone.
- Don’t be afraid to experiment. If you’re filming B-roll for a home walk-through, try filming 2 separate videos: one at a high angle and one at a low angle. Try everything! With every new angle or technique you experiment with, you’ll learn what works and what doesn’t.
In Conclusion…
We know, shooting B-roll sounds like a lot of work. And it certainly can be. But if you take the time to plan your shots, and you film more than you think you’ll need, you’ll be surprised how much easier filming gets.
With practice, you’ll learn which angles work for you and what equipment makes filming easy and enjoyable for you.
Remember to be consistent and intentional with your shots as well. The hardest part of filming is getting started. So, now that you know how to create B-roll for real estate videos, and you know how important B-roll is, it’s time to get out there and start shooting.


