Mother nature is unpredictable. But, don’t sweat it. When it comes to filming real estate videos outdoors, there are a few tips and tricks you can utilize to ensure you get prime-quality footage every time.
If you’ve ever shot video outside, you know that natural light can be difficult to work with. Sometimes you get incredibly well-lit shots, and other times you’re left with overexposed footage or harsh shadows. And in rare cases, you might even get caught in the rain.
Time of day, camera settings, and tools all play a major factor when filming outside.

1. Shoot in manual, not auto
Filming real estate videos outdoors isn’t the same as shooting inside. After all, you can’t adjust the brightness level of the sun. What you can do, however, is shoot your footage in manual mode.
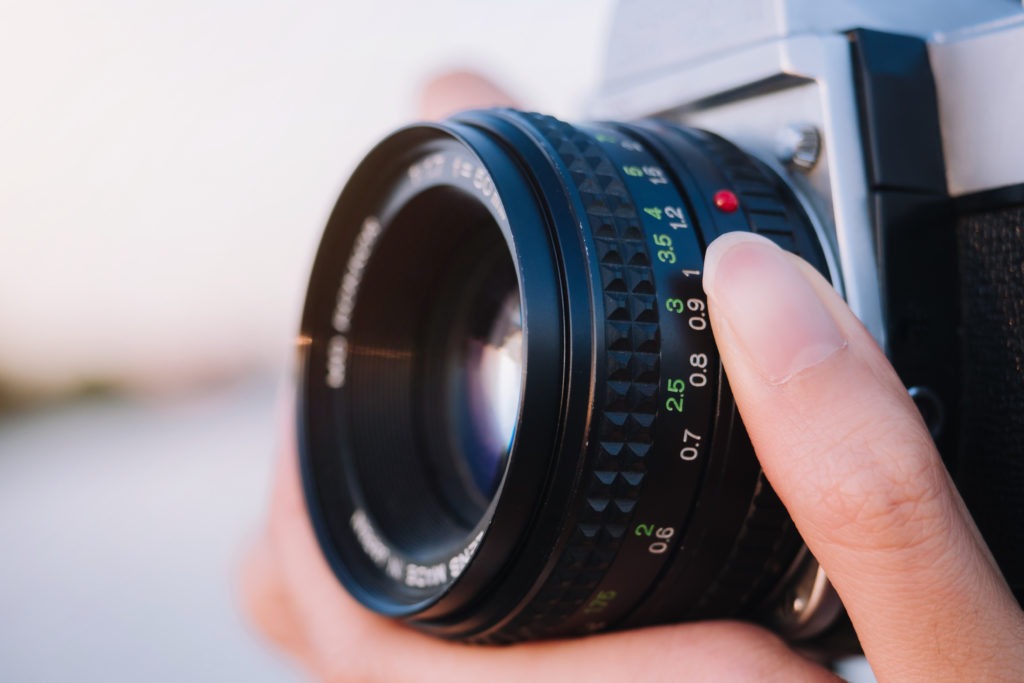
Shooting in manual mode gives you far more control and allows for more creativity as well. By adjusting your aperture, ISO, and shutter speed, you can change the exposure of your footage. If you’re just beginning to film, here’s a short breakdown of what these terms mean:
- Apeture/F-stop: This setting sets the depth of field for your shot and determines how much of the shot is in focus. It does this by allowing more or less light in. For the blurry background effect, you’ll want a lower aperture. To have everything in your shot in focus, aim for a higher aperture.
- ISO: In the simplest terms, adjusting the ISO on your camera will brighten or darken the shot. Play around with this setting a little bit and you’ll see exactly what we mean.
- Shutter Speed: Shutter speed refers to how long the shutter on your camera is open. The longer your shutter remains open, the more light that you can get in the shot. However, the longer the shutter remains open, the more likely your footage will be blurry. So you’ll need to find a balance.
When you shoot in auto outdoors it’s all too easy to wind up with wildly over or underexposed shots. As advanced as camera technology is, your eyes are still more sensitive when it comes to lighting conditions. If you’re not comfortable shooting manually, there are tons of videos online that can help you out.
2. Take advantage of the golden hour
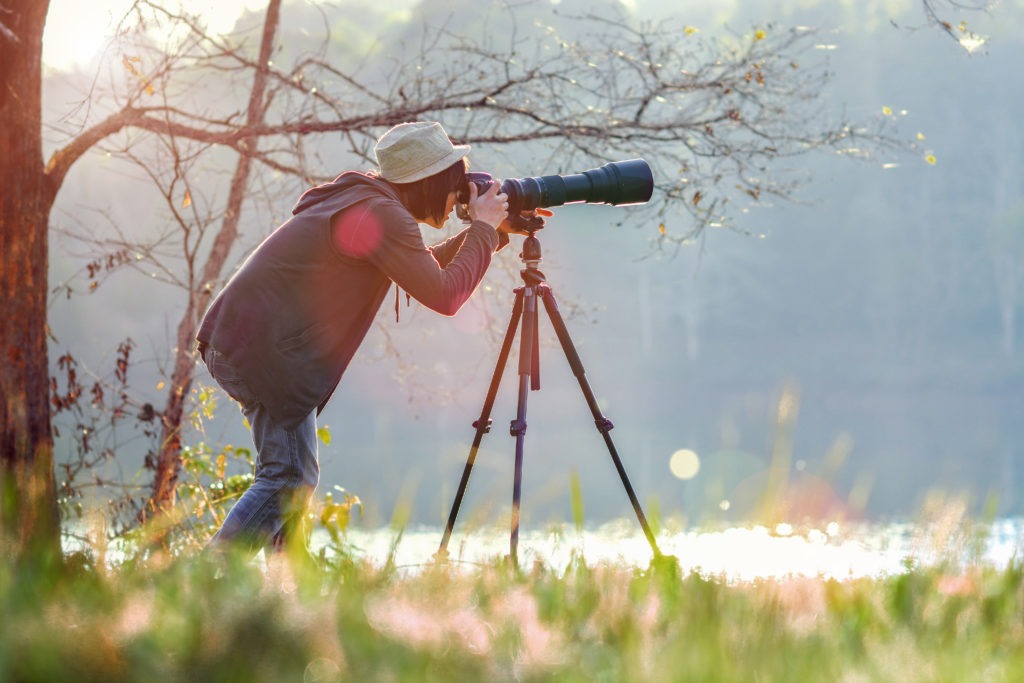
Golden hour, sometimes called magic hour simply refers to the first hour after sunrise and the last hour before sunset. During these times the sun is naturally diffused, making your video subject look warmer and more natural.
Golden hour is ideal whether you’re filming people or showcasing beautiful backyards.

3. Remember, overcast is your friend when filming real estate videos outdoors
Don’t let a cloudy day stop you from filming outdoors. In fact, overcast days are one of the best times to film. Unlike the sun, overcast gives your shot even light which eliminates harsh shadows on faces and buildings.
4. Utilize light diffusers and reflectors
We all have different schedules, and lining up your outdoor video shoot with the weather isn’t always possible. But that’s okay. There are some affordable tools you can get to help manipulate natural light to your advantage.
Diffusers and reflectors do just what they say, diffuse and reflect light. You can find really affordable options online. With the right materials (cardboard, translucent paper, and tinfoil) you can even DIY these items at home.
5. Make the sun your backlight
If you’re familiar with the three-point lighting system, then think of the sun as your backlight. Rather than shining directly into your video subject’s eyes, you can use the sun to separate your subject from the background.
Now, with the sun behind your subject, you may notice some lens flairs in the shot. Just play around with different angles until you get the clearest one.
When you use the sun as your backlight, you can use diffusers and reflectors in place of your key and fill lights.
6. Take off your sunglasses
This one might sound silly, but it’s important. Eye contact allows the audience to build trust with the video subject. And if you’re trying to sell someone on a property or idea, you want them to trust you.
7. Use a microphone when filming real estate videos outdoors
There’s tons of video equipment available, and not all of it is necessary. However, when shooting outdoors an external microphone is a must.
If you plan to have any speaking in your video, the camera’s built-in mic is not enough. These built-in mics pick up tons of background noise. This means that while your subject is speaking, the audience will also hear the wind, cars driving by, and any other background noises.
Using a lac mic will eliminate some of that noise so the audience can focus on your video’s message.
Filming outdoors has its challenges. But with a little practice and the right tools, you’ll be able to easily capture high-quality video content outside.
References:
https://sproutvideo.com/blog/take-it-outside-6-tips-for-outdoor-filming.html#close


