So, why should you worry about a real estate video lighting setup? Well, imagine this. You have the perfect idea for your real estate video. You shoot the whole thing and you’re feeling good about it. But, when you go to edit the footage, you notice it’s dark and grainy.
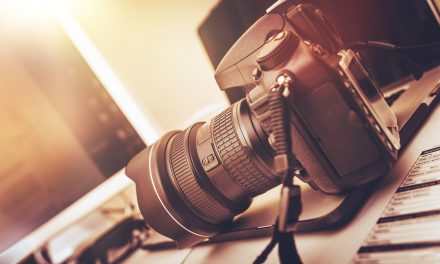
Lighting is so important for video quality. You can be using the best camera on the market, and without good lighting, your videos still won’t look great. And with our attention spans lower than ever, you only have a few seconds to capture someone’s interest before they click away. So you want to make sure what they’re seeing is, among other things, very well lit. As video becomes increasingly more popular in the real estate world and online, video quality expectations are getting higher, too. The best real estate videos act as a movie trailer for the property. And they should be shot as such.
Remember, videos are really only effective when they look good. A vertically shot iPhone home tour with bad lighting isn’t selling anyone on anything, even if the home is gorgeous.
The lights you choose don’t need to be huge either. Simply investing in 1-3 lightweight LED lights should be more than enough to enhance your video quality.
By now, I hope you understand the importance of lighting. This is the first step. Next, is figuring out how to use it.
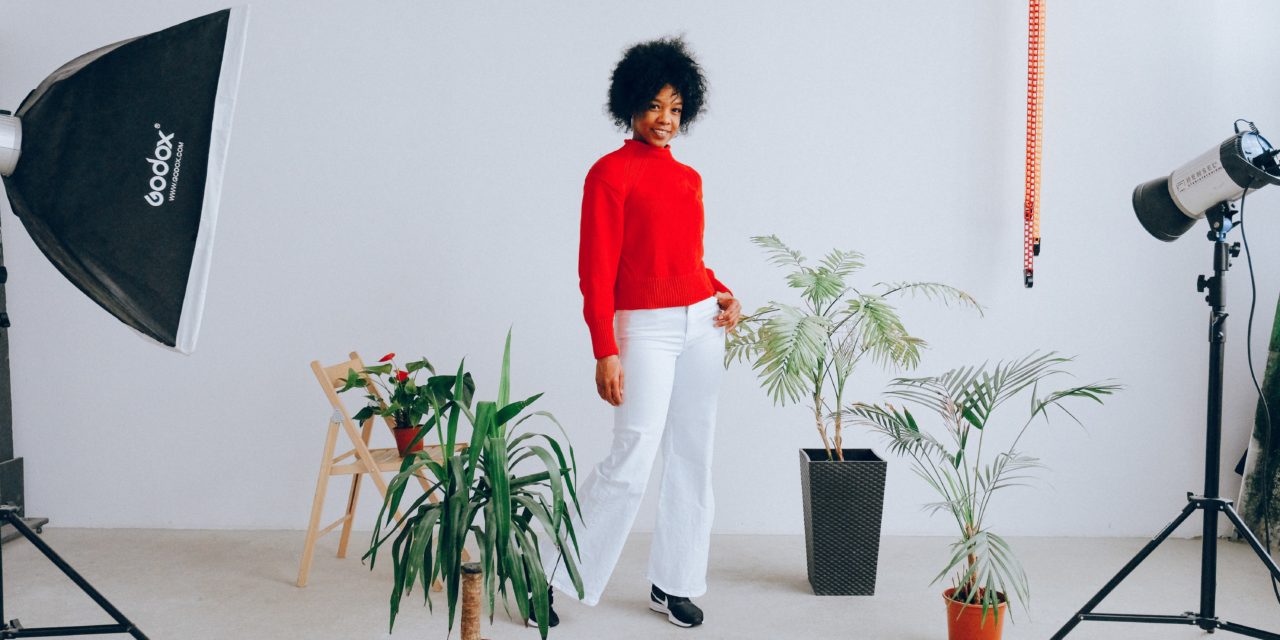
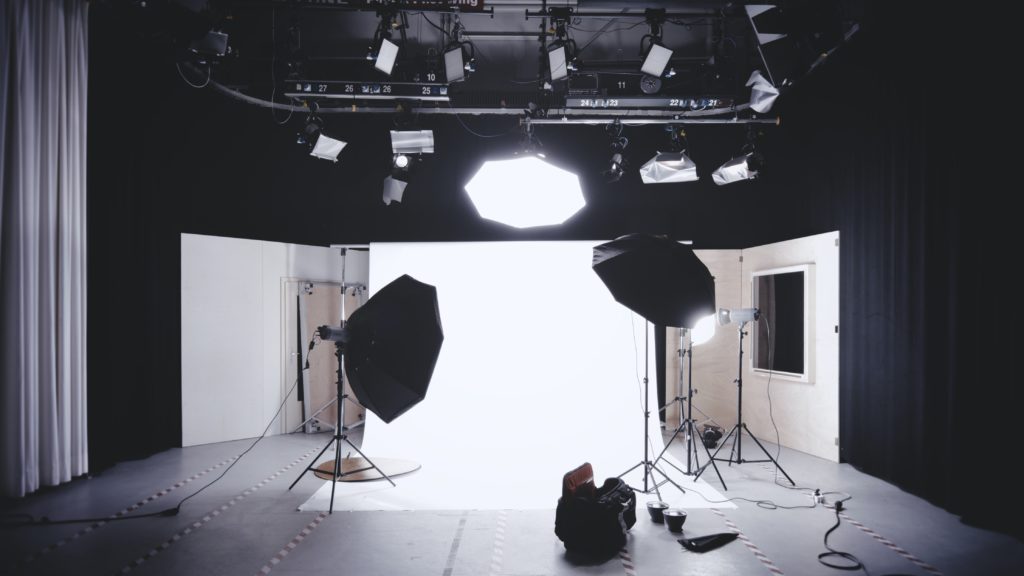
There are a few different options for real estate video lighting. One of the most common lighting techniques in any videography is three-point lighting. We will go over when and how to use the three-point system and when to opt for one light or natural light instead.

What is three-point lighting?
It’s as obvious as it sounds. Three-point lighting is a set up that uses three different lights in certain positions to illuminate your subject. The three main components of three-point lighting are:
Key light: The key light is used as the main source of light to illuminate your subject. Where you place the key light will vary slightly from project to project. Placing your key light roughly 45 degrees to either side of your camera and 45 degrees above your subject is typically the common setup. Especially if the focus of your video is a person.
Fill light: The fill light should be placed opposite of your key light. Its main purpose is to soften the shadows caused by the key light. The fill light is normally dimmer than the key. You can use different levels of fill to help determine the mood of a shot. (ie you can have more or less shadows)
Backlight: The backlight is a light that faces the camera. It’s used to illuminate things like your hair and shoulders to make your outline stand out on the screen. The backlight helps add depth to your shot.
When should I use three-point lighting?
The short answer is whenever the shot calls for it. The idea is to make your shot look as good as possible, so don’t just use three-point lighting for the sake of using three-point lighting. Sometimes natural light or a singular light will get the job done just as well or better.
Three-point lighting is commonly used for one on one videos, like an interview of a notable member of your community or a client you’ve worked with. If you plan to always film in the same spot, like your home office, then you may want to keep a permanent three-point lighting setup.

When should I use one light for real estate video lighting?
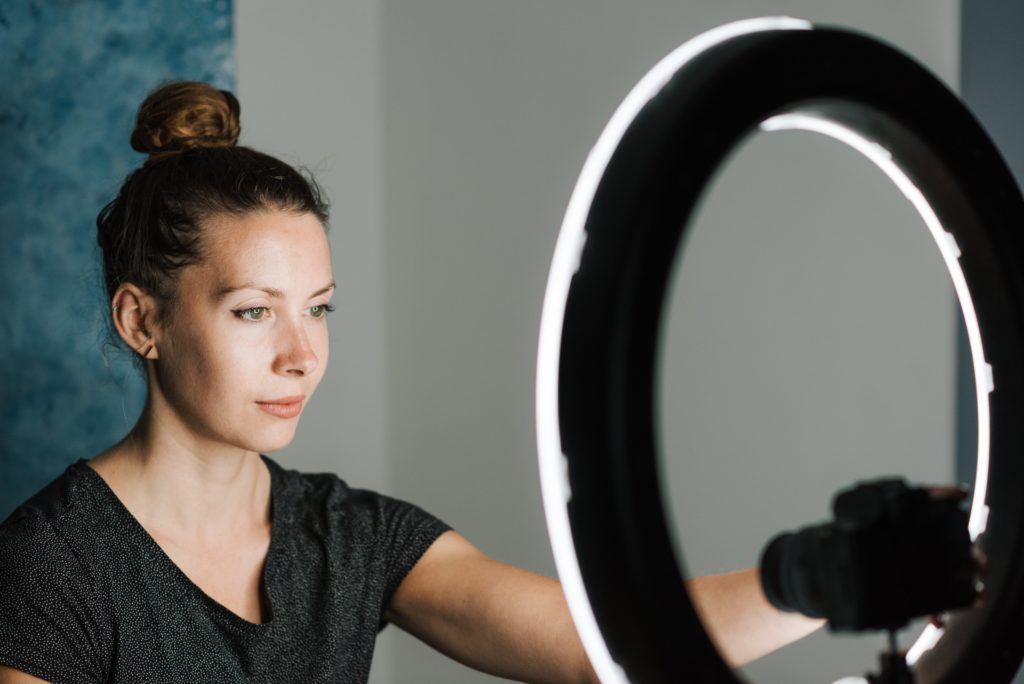
If you only have access to one key light source, don’t worry. You can totally work with this for real estate video lighting. When you’re using only one light for a shot, the position of that light can make a world of difference.
There’s not necessarily a defined right or wrong spot to place your light. Just play around with different positions to see what looks best to you. Taking advantage of light-colored walls when you’re working with one light is smart. The walls can bounce and reflect the light, giving you the illusion of a well-lit room.
When should I use natural real estate video lighting?
Whenever you can! Just be cautious about the time of day and the weather forecast.
For example, if you start shooting in the sunny afternoon, and the shoot drags on, your video lighting will be inconsistent. And watching the video slowly get darker over time can be distracting to the audience.
At the end of the day, the weather is unpredictable. That means natural light isn’t always the most reliable light source. Maybe a huge selling feature of a house you’re selling is all the natural light it receives.
But what happens if you show up on the filming date and it’s a horrible overcast day? Showing up with a back-up lighting setup will save you in that scenario.
As always, done is better than perfect. So don’t worry about purchasing big expensive lights right away. Just work with what you have, even if that’s natural light only, and get started.


