


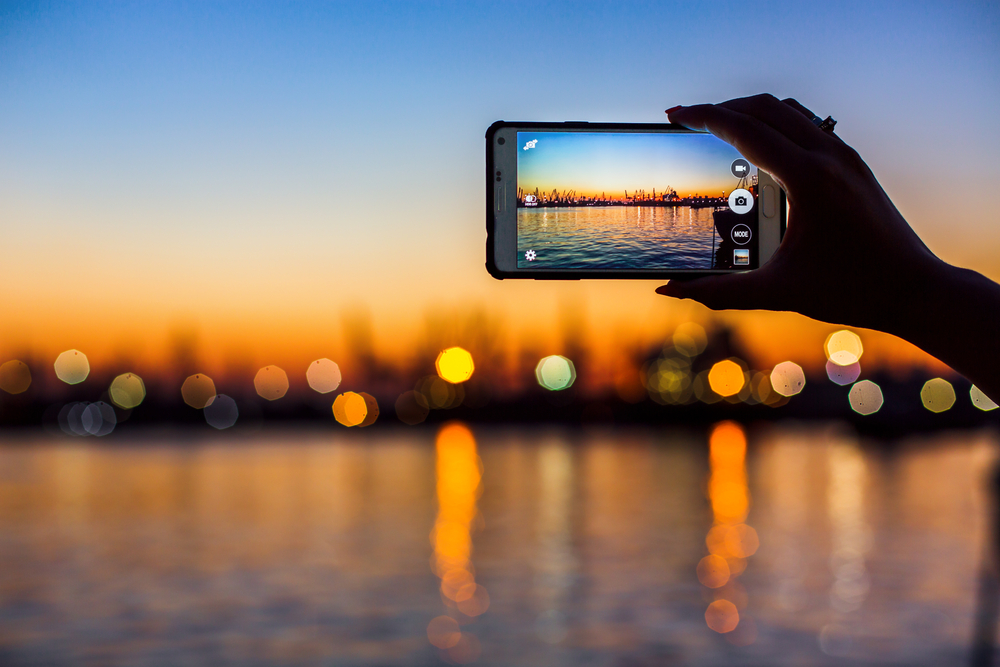
Smartphone photography is growing at a rapid pace. There’s no shortage of advice online telling you to put out great visual content these days. It’s all about photo, video and infographics – but what if you weren’t born with natural photography or graphic design skills? Does that mean you have to pay someone to make all of your visuals? Nope. You’re going to learn how to take awesome pictures, simple videos and do some basic photo editing in this article. And you’re going to be able to see a marked improvement in the quality of your visuals pretty quickly. So, pay attention! This is smartphone photography for beginners!
Smartphone photography is especially important for real estate professionals. This will help add visual appeal to your content marketing plan, as well as to your listings. And all, using something you use every day – your smartphone. This guide will not only help you shoot the best possible shots, but edit them as well. And it’s free of charge.
This next section is specifically for iPhone users, but that will only be for the actual camera functions. The photo editing applies to both iPhone and Android. This is because the apps are available in both the App Store and Google Play.


iPhone Models and Camera Capabilities
To start, let’s identify the camera capabilities of the various iPhone models so you know what you’re working with.
1st Gen iPhone/iPhone 3G. Fixed focus 2.0 megapixel. No zoom, flash or autofocus and does not record video without a third-party app.
iPhone 3GS. 3.2 megapixel. Has autofocus, auto white balance, auto macro, 640×480 (VGA resolution). Shoots video at 30 frames per second.
iPhone 4. 5.0 megapixel. 2592×1932 pixels & 720p video recording. Backside illuminated sensor, which can capture pictures in low light. LED flash, which stays lit during video recording. Front camera can take VGA photos and record SD video.
iPhone 4S. 8.0 megapixel. Can shoot 1080P video. Built-in image stabilization, panoramic shots, photo geotagging.
iPhone 5. 8.0 megapixel. Can do panoramic shots and record video in 1080p at 30 frames per second. Offers face detection and tap-to-focus.
iPhone 5C/5S. 8.0 megapixel. Improved sensor design helps with low-light shots, dual-LED True Tone flash, shoots 1080p video, and slow-mo in 720p at 120 frames per second, HDR.
iPhone 6S/6S Plus. 12 megapixel camera. 4K HD video capability. Also shoots in 1080P, slow-motion, time lapse, HDR.
iPhone 7. Dual 12 megapixel, one of which is a telephoto lens, which allows 2x optical zoom and up to 10x digital zoom. 7.0 megapixel front-facing camera, HDR.
Smartphone Photography vs. High-End DSLRs:
Why Smartphones Win for Real Estate Professionals
The reality of smartphone photography is that the game has changed. If you’re using above an iPhone 4, your camera is higher quality than consumer digital cameras as recent as 2010. What’s more, your camera is better than DSLRs available from about 2004. Additionally, the learning curve on a smartphone camera is significantly less steep than that of a DSLR. This means you don’t have to learn a whole new device AND process (editing).


Shot with Nikon D5300, edited with Google Snapseed
Most importantly, if you’re reading this, the benefits of a high-end camera are likely to be lost on you anyways. This isn’t meant to be an insult. I consider myself to be an advanced-use smartphone photographer. This puts me at the level of a lower-intermediate photographer at best. They’re apples and oranges, even though both are forms of photography.
But that doesn’t mean I can’t take some phenomenal pictures and edit them for high-quality images. In fact, in the two years I’ve been doing smartphone photography, I’ve had my work featured in various places. I’ve even sold a few prints! Nevertheless, it’s not something I take too seriously. It’s just a way to enjoy expression without words sometimes. So, its a worthwhile skill to learn. The reality is that smartphone photography can be made to look great without needing a $3,000 camera. And that translates to improved content for your content marketing plan and listings. This makes it an invaluable skill for real estate professionals.


Shot with iPhone 6S, Edited with Google Snapseed.
My Smartphone Photography Journey
When I began shooting in 2015, I was using the iPhone 4S, which came with an 8.0 megapixel camera. I’ve since gone through the 4S, 5S and 6S, and played with the camera on the iPhone 7. It’s been quite remarkable to see not only how advanced the cameras have gotten, but how high-quality the camera on the 4S is considering it’s a model that was released in 2011. (Time flies, huh?). To this day, some of my favourite shots were done on my 4S.

The basics of smartphone photography are pretty simple
- You need a strong subject
- You need good lighting
- You need to take a few shots
- You need to edit afterward


Getting the Shot
1.Get as much of your subject in the shot as possible.
In the case of real estate, you want to get as much of a room in the shot as possible. This is best accomplished using a high-angle downward-facing shot to give a better impression of floor space and dimensions.
***Perspective/Vantage/Angle: Camera placement in relation to the subject.***
2.TAKE MULTIPLE SHOTS.
You won’t get it on the first try, and you should never settle for the first shot.
3.Try different angles.
Shoot a room from all corners using a high-angle, then compare them and choose the best looking one for editing.
4. Always know your light source.
If you’re using natural light, be sure to not shoot windows in the background or the light will overwhelm the shot. You want diffuse white light whenever possible, and unless a listing has unique lighting, you’re going to want to shoot it in the daytime for best lighting. Sunny cloudless days will create nice shadow play, but the best shooting lighting is a slightly overcast day as it makes all sunlight diffuse.
5. Edit, but don’t over-edit.
Lightroom, Snapseed and VSCO Cam provide some phenomenal features which will benefit you as you learn, but at first you want your focus to be well-framed shots, appropriate lighting, and effective angling. Editing should be to help give added drama and impact to the shots without looking over-processed and busy.
6. Add a watermark/logo to your shots.
This can be as simple as adding your social media handles in regular text to a corner of the shot for easy identification, to a logo transparency overlay from a PNG vector file to prevent anyone else from using it.
7. Share all of your photos to Instagram!
This is a great way to experiment with hashtags and posting times. Don’t sweat follower counts, you’ll add and lose followers in volumes which make sweating your follower size pointless. Post frequently, post intentionally, and try to learn something new every day!
8. Use horizontal shooting for rooms whenever possible.
Horizontal allows you to get a wider angle shot suitable for rooms.
9. Use HDR setting (iPhone only).
This takes three high-resolution shots at once, then takes the best elements of all three and combines them in one image. But beware: this eats away at your memory FAST.
10. Purchase additional storage.
On iCloud. 50gb of cloud storage costs $1.29 a month and keeps the clutter off of your phone. You can’t beat that – except if you use Google Photos, which does it all for free on both Android and iCloud. Not as quick t
Recommended Photo Editors
Free – Google Snapseed. VSCO Cam
Subscription – Adobe Lightroom
This isn’t a guide to make you the next Annie Liebovitz or David LaChappelle. This guide is to get you taking visually-appealing photos that stand out. That’s the essence of smartphone photography. To start, let’s walk through some basic terms you’ll see in the various photo editors. This will be of importance to you while editing your raw images.
Photography Terminologies
Detail/Clarity/Sharpness
This refers to the ability to tweak sharpness of edges in the image. BEWARE – this isn’t a ‘make my photo awesome’ setting which will bring your photos to life; if you shot in low light, zoomed in or even slightly blurry, sharpness is going to intensify any of the imperfections. Use sparingly (maximum 75%) to ensure that you don’t get an image that is ‘blocky’ (straight lines on angles can begin to look pixelated if sharpness is put too high).
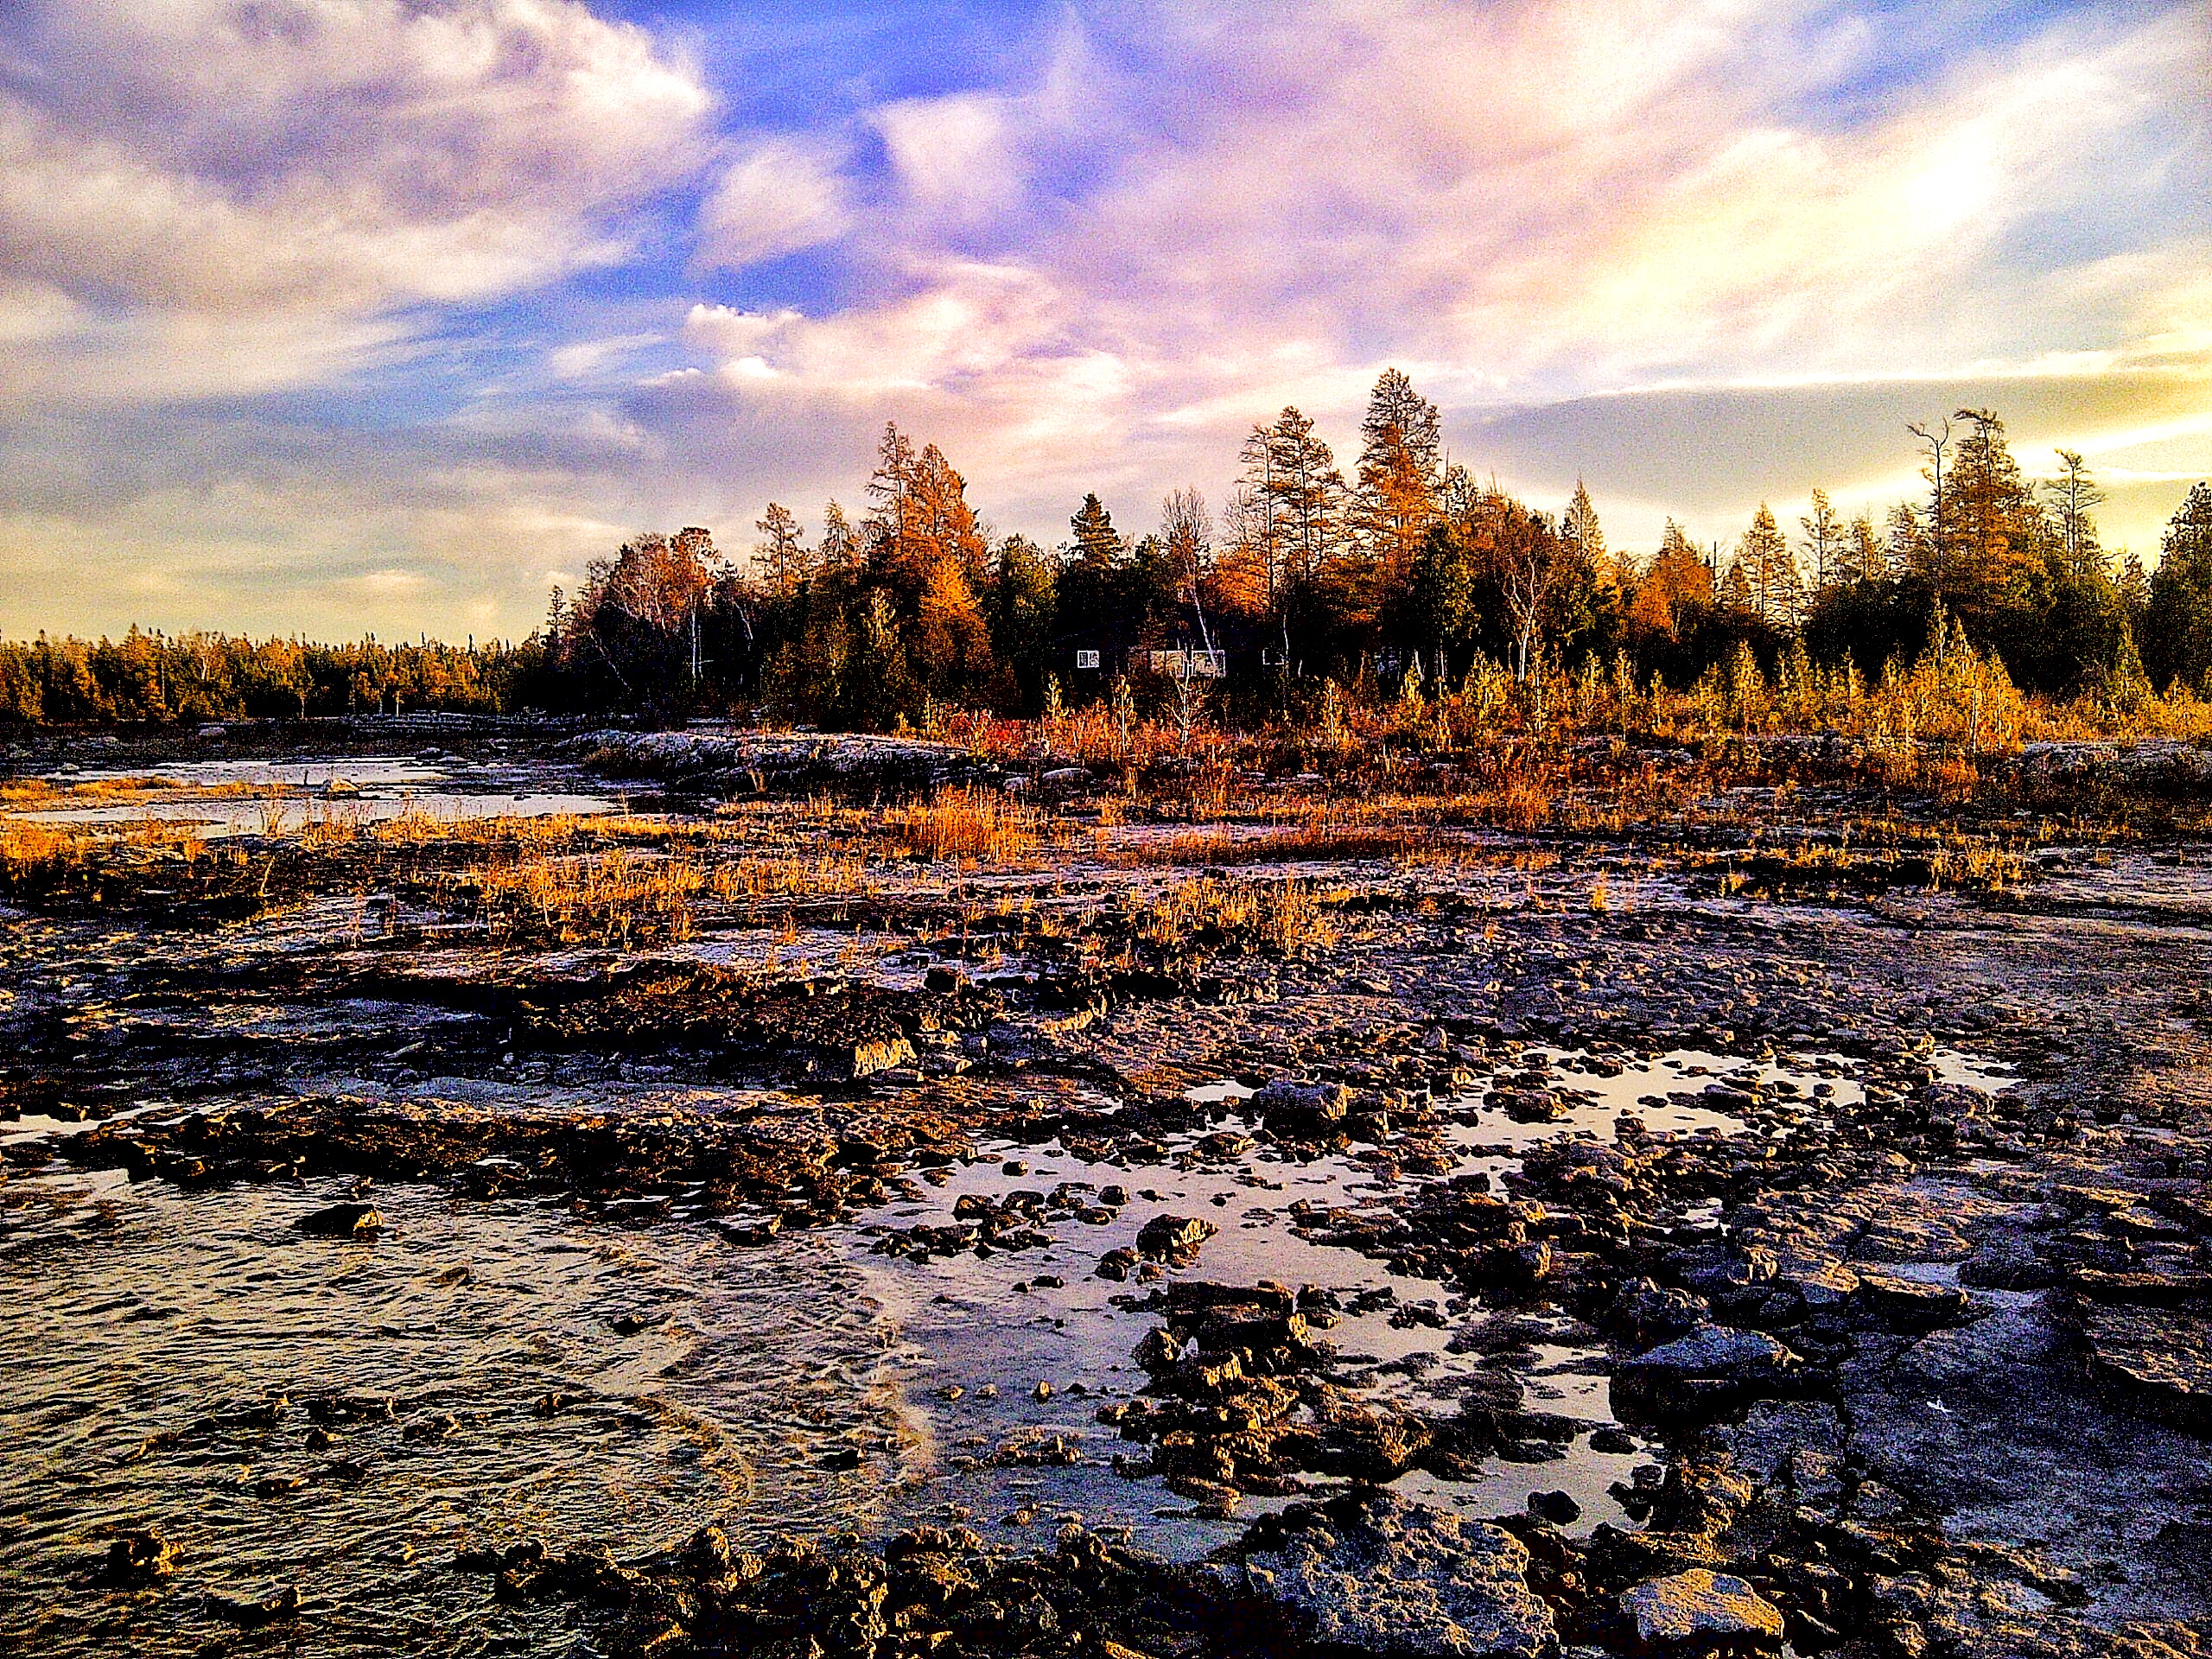
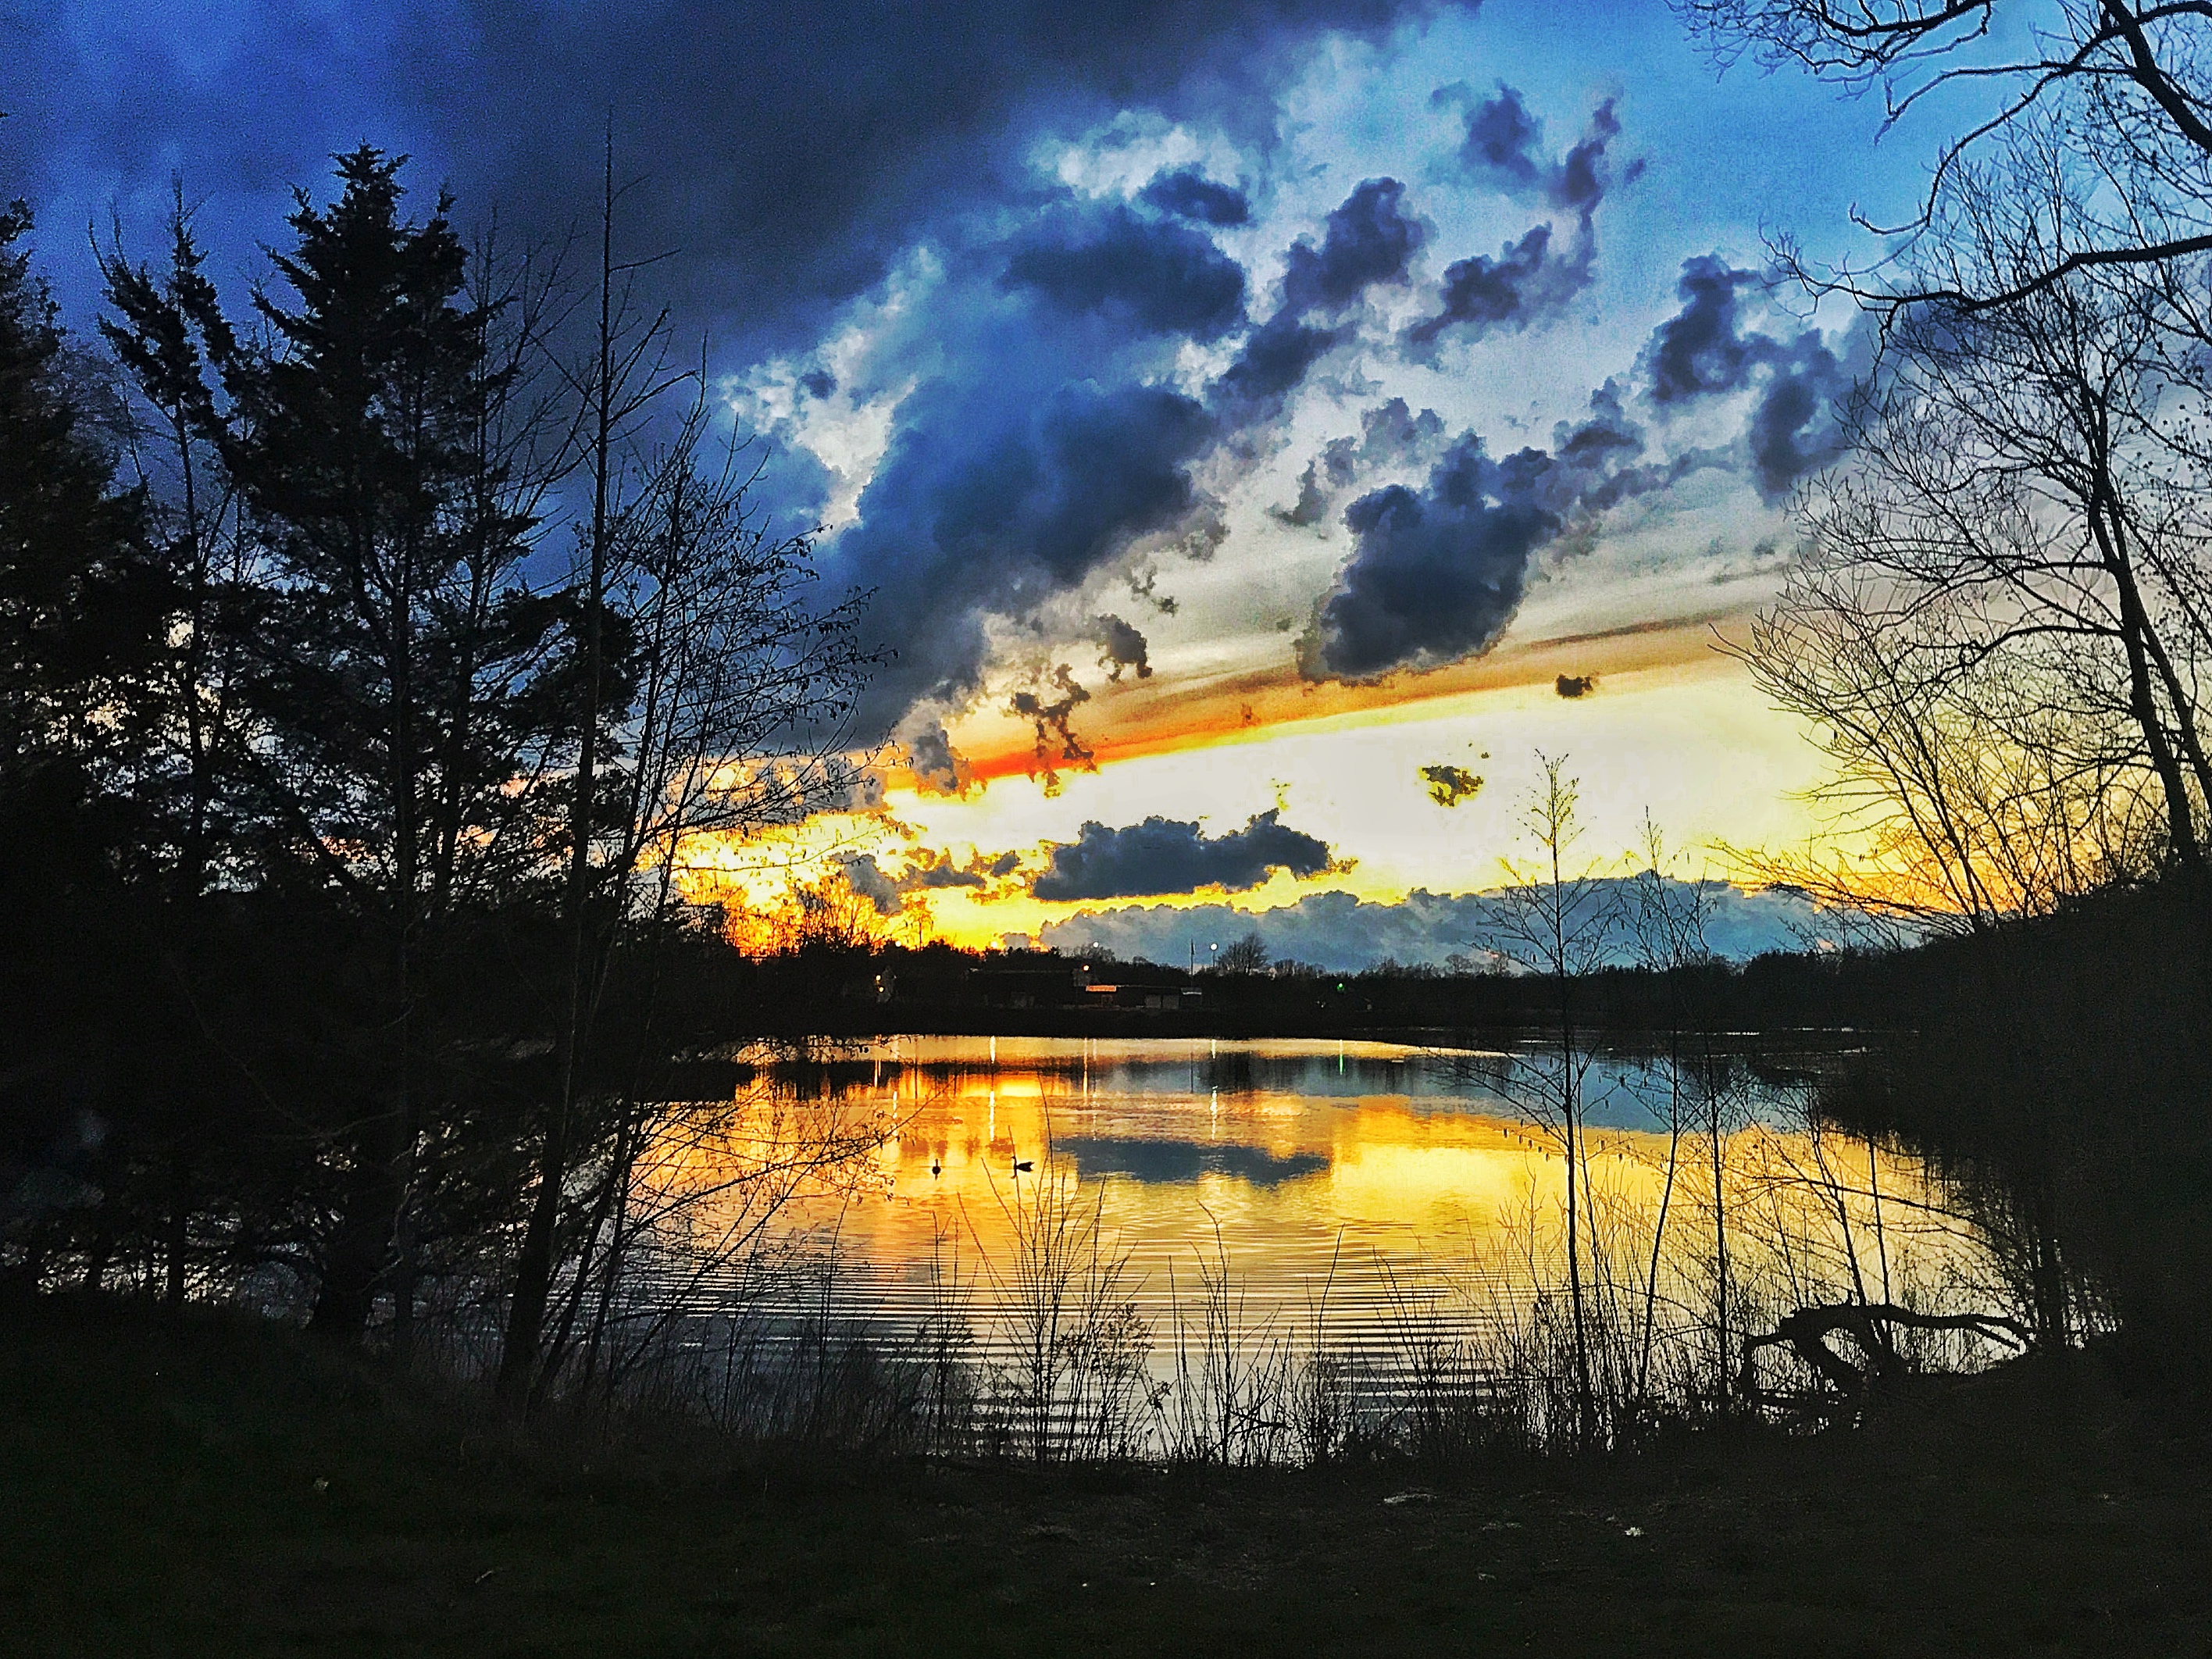
In the shot below, you can see the effect of the sharpness tweak on the horizon and on the rocks in the foreground.


Shot with iPhone 6S, edited with Google Snapseed.
Photo Structure
Similar to sharpness, this is an augmentative setting which helps give stronger definition to lines and edges, but also increases ‘grain’ (spottiness) in images. Again, use sparingly on images with lots of detail – it can be a double-edged sword if over-used.
In the shot below, you can see how the structure tweak makes the details of the rocks and trees more pronounced, but it also adds the graininess you can see in the blue sky.

Shot with iPhone 6S, edited using Google Snapseed
Brightness
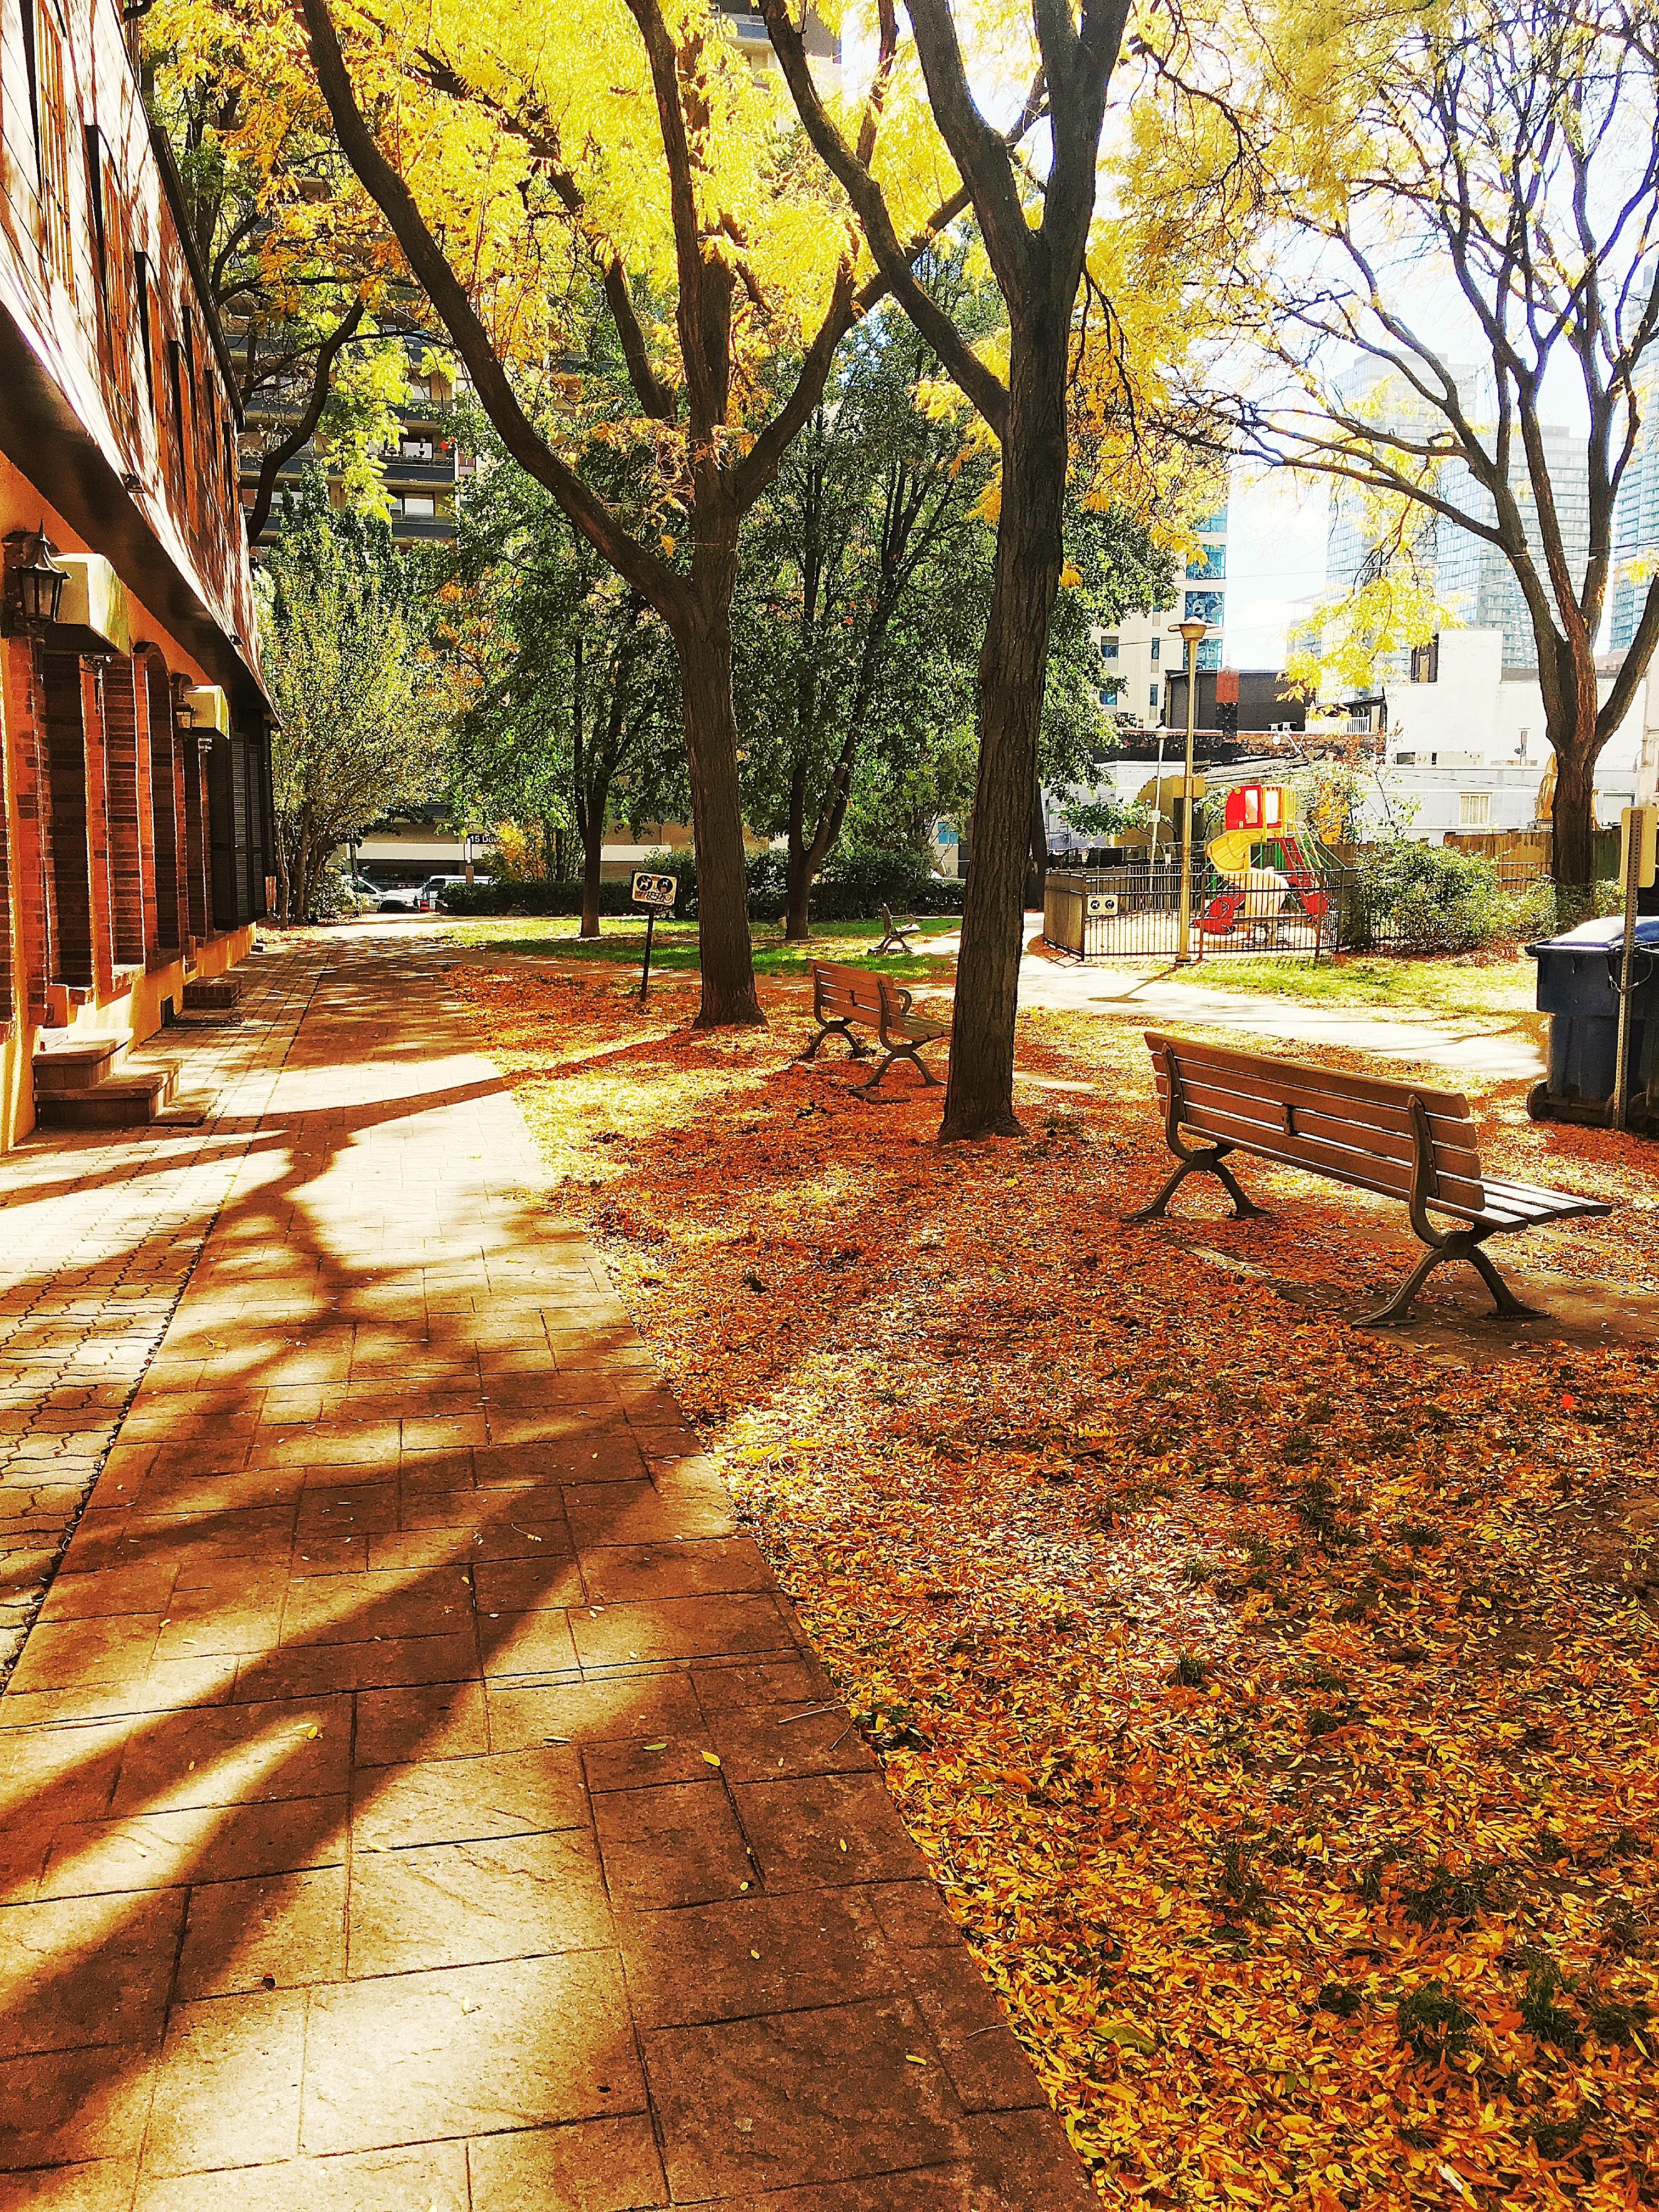
This refers to the exposure of the shot as a whole; it is a flat setting which affects the whole image by emphasizing lighting across all elements of the shot.
In the photo below, you can see the brightness has been boosted to emphasize the sunlight. The way to tell is by the details in the background being ‘whited out’; this was done to enhance the glow of the leaves in the trees and emphasize the sunlit areas in the shot.

Highlights & Shadows
Highlights refer to any and all illuminated/lighter-shaded portions of a photo. Shadows refer to any and all non-illuminated portions of a photo.
The shot below employs an emphasis on both very deep shadows, as well as brilliant highlights. Highlights will emphasize anything lighter than grey, while shadows will emphasize anything darker than grey.


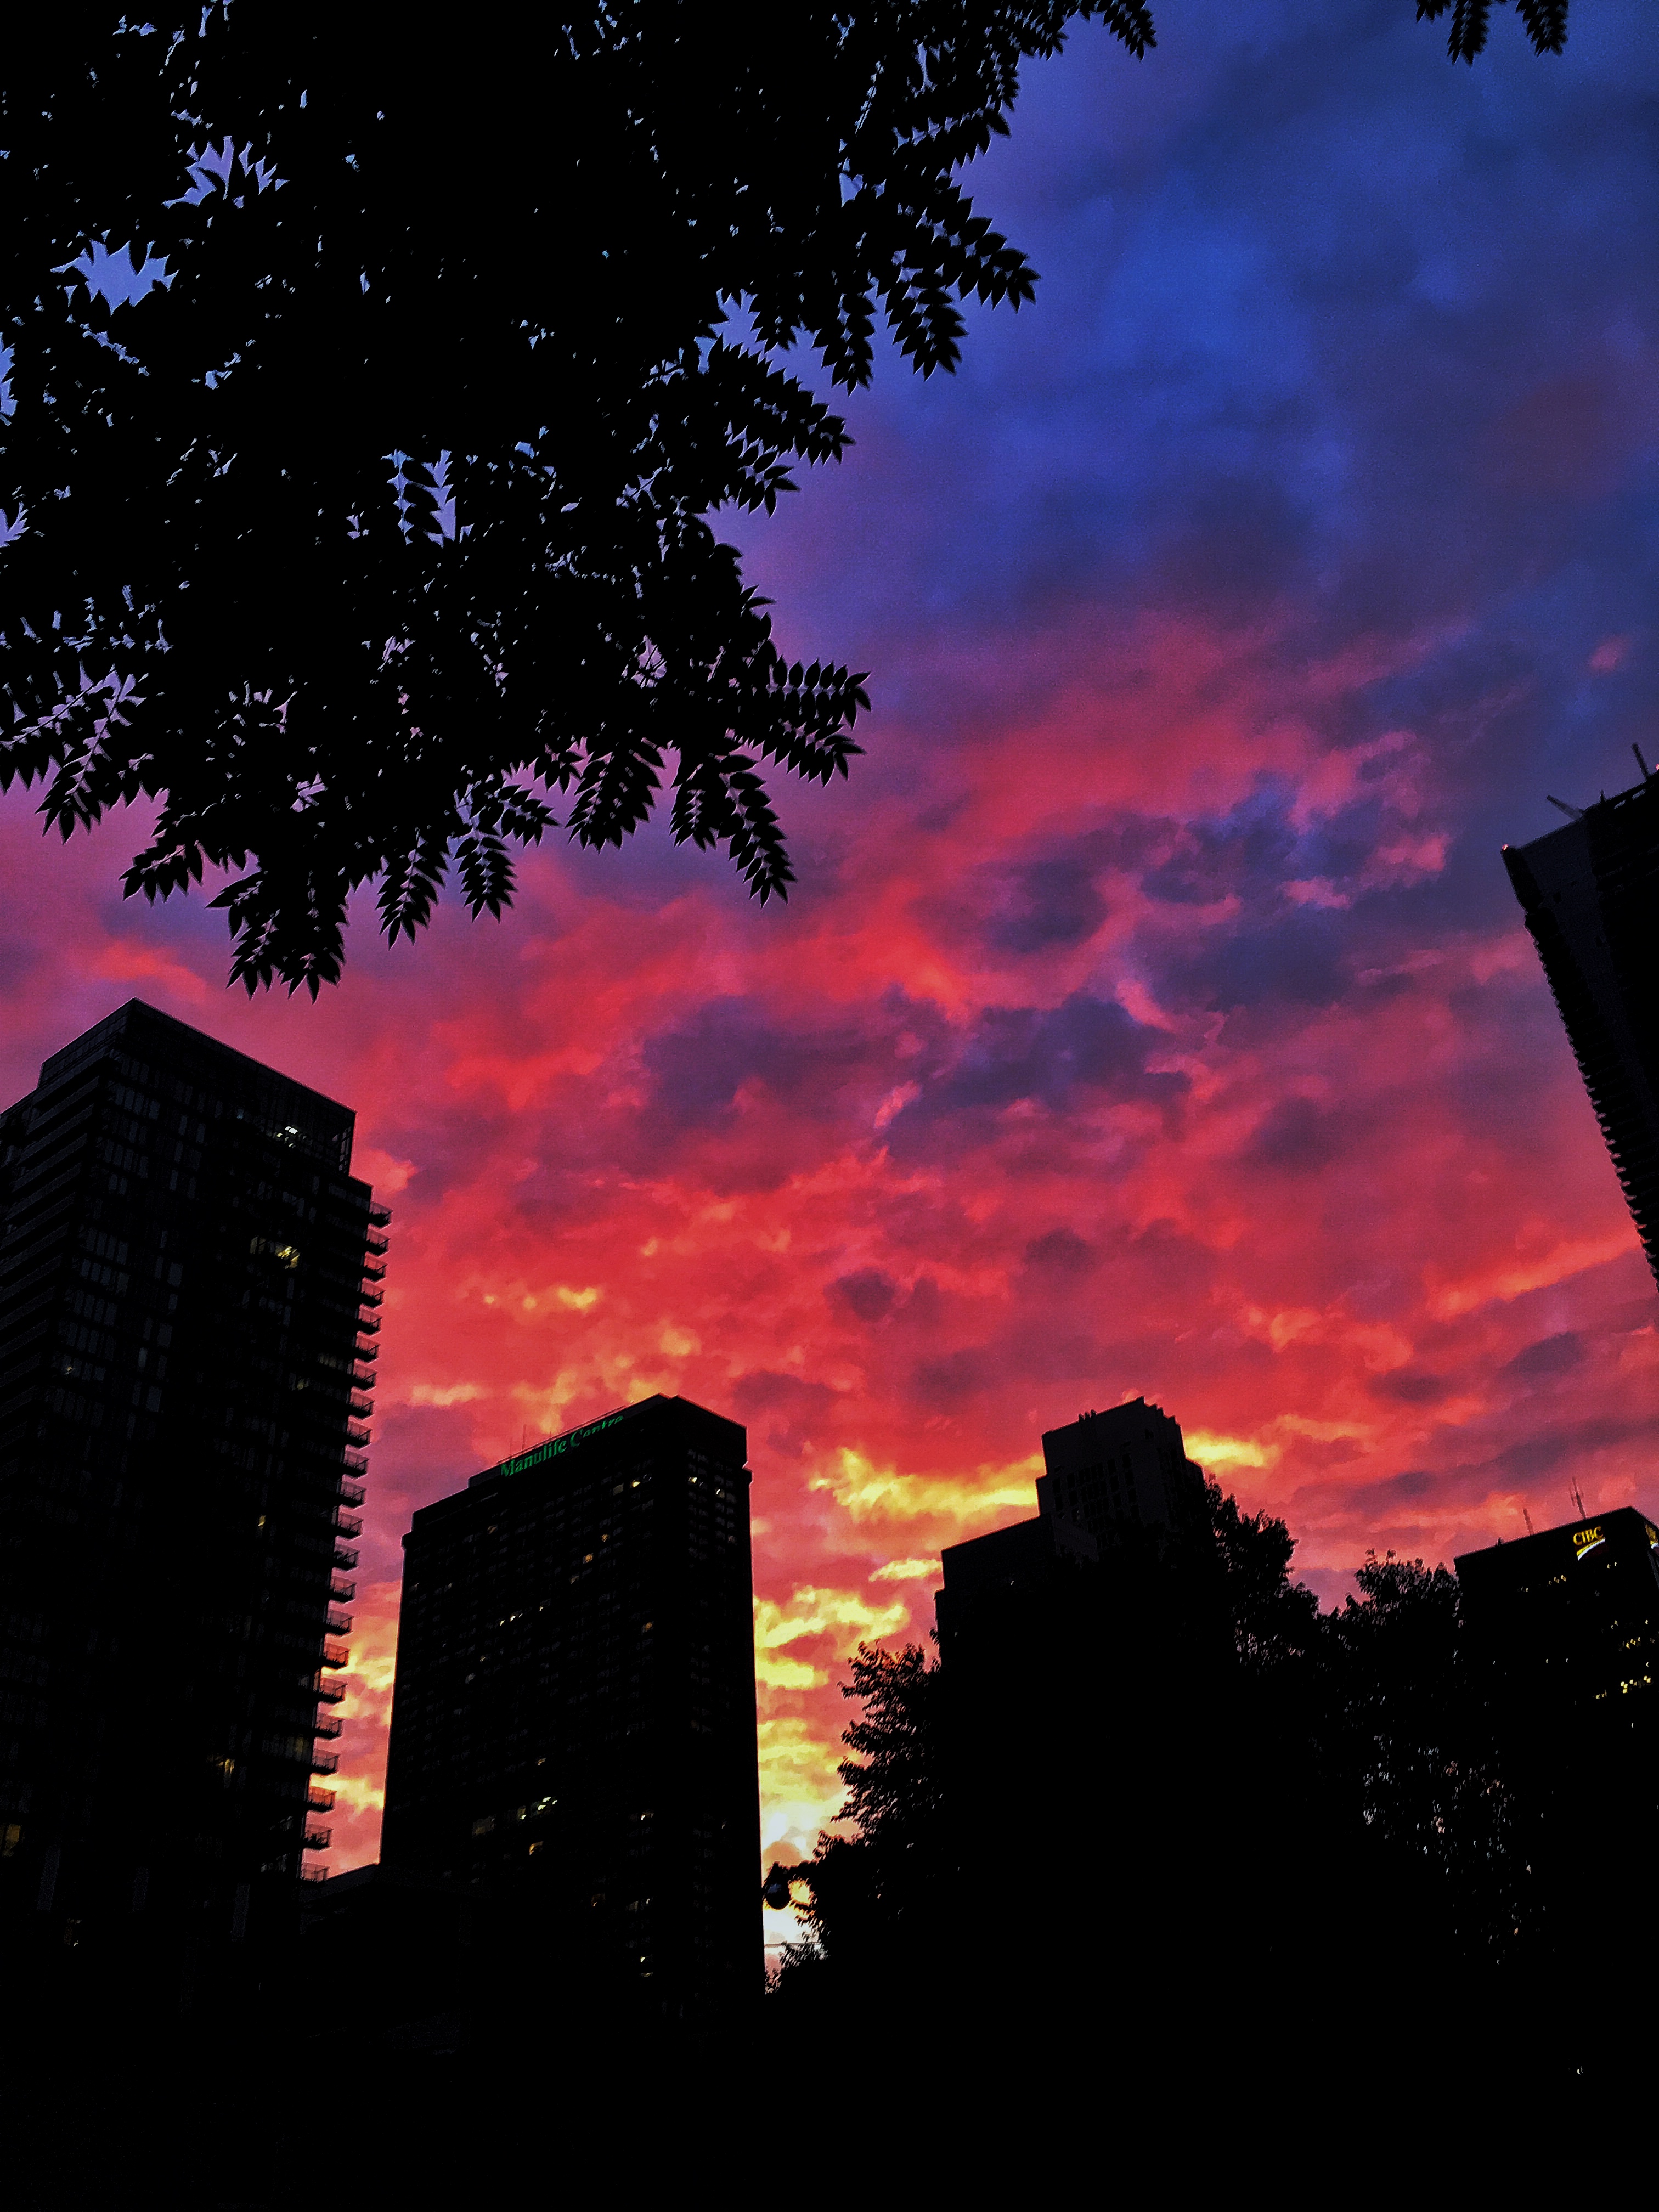
Contrast: Refers to the interplay between light and shadow; the MORE contrast you add, the more pronounced black will be compared to color – basically you’re simultaneously adjusting colors and shadows. At maximum contrast, black will be as close to true black as the shot will allow, while the colors will be more vibrant and the juxtaposition between the two will give more character to the image.
In the images below, the use of high contrast is made evident by the deep black, vibrant color, and clear definition between objects of color and shadowed objects.

Shot with iPhone 7, edited using Google Snapseed
Shot with iPhone 6S, edited using Adobe Lightroom
For personal reference, think of HDTV technology when it first came out. Its selling point was that high contrast images were more impactful and dramatic because of the ability to capture ‘true black’ while simultaneously displaying brilliant color.
Ambiance
This setting is more passive than brightness and has a less pronounced effect on the image overall. It is akin to increasing or decreasing backlighting.
In the shot below, you can see that ambiance was boosted by the lack of shadow detailing other than the ones caused by direct overhead sunlight. The ambience was boosted so that the dog, the chair, the carpet, the glass, and the wood slats of the patio – all of which were barely visible in the raw shot – were clearly visible and pronounced.


Shot with iPhone 5S, edited using Google Snapseed
Saturation
Refers to color saturation in the shot. On the high end, colors will be overwhelmingly bright, on the opposite end, there will be no colour whatsoever.
In the shot below, you can see the use of the ‘brush’ function. The saturation was turned up to near maximum on the shot, then the brush was applied set to negative saturation to add the black and white elements.
Shot with iPhone 6S, edited using Google Snapseed
Warmth
This only applies to color images, but the more warmth you add, the more yellow light is emphasized. The less warmth you use, the more blue light will be emphasized.
In the shot below, I increased the warmth to make the wood and brick in the background glow, and to give the tablecloth a little more impact.


Shot with iPhone 6S, edited using Google Snapseed
So, there you have it! You now have an introduction to smartphone photography, examples of how the settings in your photo editor can impact your visuals, and how to get the raw shots you need to make great visual content!
Your listings, your social media content/content marketing plan and your marketing materials are going to get a significant boost in curb appeal if you follow the advice in this article – now get out there and start making some great visuals!