


You’ve probably heard about a thousand times how you need high-quality photos and video content as part of your content marketing plan. The problem is this: to create this high quality content, you need to not only be at least somewhat social media savvy, but you also need to be a strong photographer/videographer if you wish to have your content seen by anybody. That’s not the case with Google Street View’s newest update to their mobile app.
Google quietly revamped their Street View app to do something that until now had been siloed so stringently that really only professional photographers with high-end cameras and editing software could do effectively: capture fully interactive 360º images to create a static virtual reality-inspired spherical camera capture experience which can be geo-tagged and searchable on Google Images/Maps.
Wait, so now ANYONE can take full 360º multi-angle images and upload them to Google Street View? How long does this take? A few hours? A week?
Try 15 minutes start-to-finish. No bullshit!


What Can Google Street View 360 Do For Real Estate Professionals?
What this means is that you can upload MULTIPLE 360º room views, all of which will be geo-tagged to the property you’re listing, and you’ll have a shareable Google Images/Google Street View URL within 5 minutes of snapping the necessary photos.
You can post a virtual.
What You Need to Start
- A mobile phone (for iPhone – iOS 9 or later, for Android – varies by handset)
- The Google Street View app (from the App Store/Google Play)
- Chair which swivels
- A reasonably steady hand
- Your Google account
- Access to the internet


How to Get Started with Google Street View
If you’ve ever taken a decent quality panoramic shot on your phone, you’re already well qualified to get a great 360º shot with Google Street View. The interface is user-friendly than the ‘arrow and line’ UI for shooting panoramic on an iPhone, AND the auto-cleanup function is surprisingly generous – especially in terms of lighting.
1.Sit in a swivel chair, with your elbows out and holding your phone far enough from your chest that you can see the display, but not so far that your arms are straight out in front of your body.
Pro Tip: Think of the basic design of a true 360º multi-lens camera. The lenses are arranged so that if one is pointing due north, the other points due south (high-end cameras have 4 total lenses) – all of which are about 10cm apart and arranged around the exterior of the camera device. When shooting with a phone, you want to keep the camera as close to your body as possible because you’re sitting on the pivot point (the swivel chair), and the closer to the pivot point the camera shoots from, the less chance of distortion (mismatched lines) you’ll see in the final images.
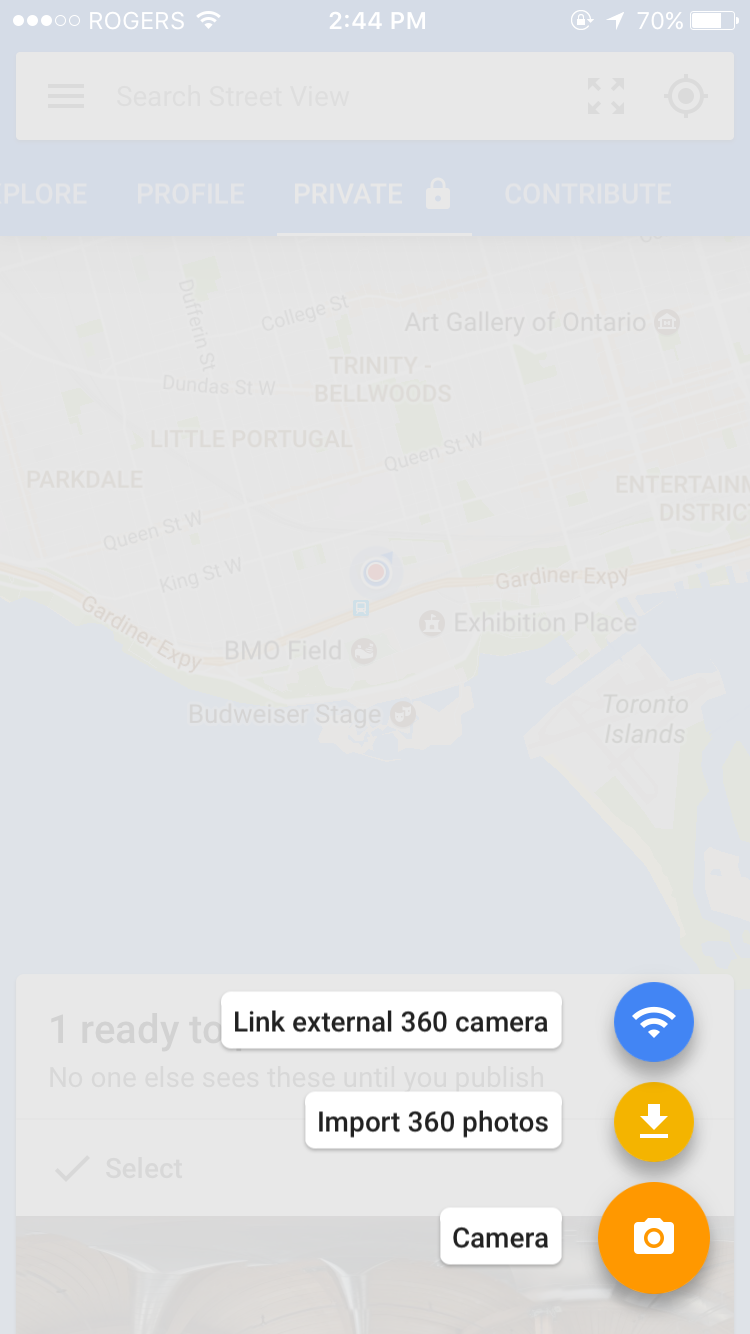
2) Click the Camera icon in the lower right-hand corner. The following options will appear:
- Link eternal 360 cameras
- Import 360 photos
- ’Camera’
Select ‘Camera’

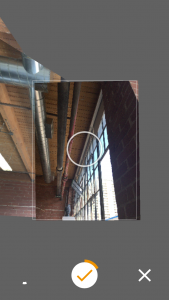
3)You’ll see your camera screen show an upright rectangle frame with a white circled border in the middle of it, and a prompt at the bottom reading ‘Point the camera at the dot’. As you pan your camera around, you’ll see an orange dot floating around. Ensure your camera is at a 90ª upright angle as you move towards the dot with the camera – once the orange dot is in the white circle, you’ll see it do a clock effect without you having to hit anything- that’s to let you know the image was captured, and you can now move on to your next shot.


4)You’ll see four different orange dots appear on all sides of the rectangle, swivel to the next dot, wait for the clock effect to complete, and keep doing this as you swivel in the chair – mindful of the camera’s distance from the pivot point.

Pro Tip: When shooting higher and lower angle shots, keep the idea of the pivot point in mind. Think of your chest as the Y (vertical) axis and tilt the camera up or down as if the camera were a fixed distance from the Y (horizontal) axis – the Y axis would be represented by the height from which you shot the head-on shots. If you shot the head on shots with the camera 6 inches from a point in the middle of your chest, your high angle shots would need to have the camera 6 inches from that same spot on your chest – all that changes is the angle at which you hold the camera.
5)Keep shooting until the circular progress meter at the bottom shows a full orange exterior. That means you have captured all necessary angles. When that happens, hit the checkmark in the middle of the circle and give it a few moments as the app cleans up your image to the point that it looks a lot smoother than when you shot it.
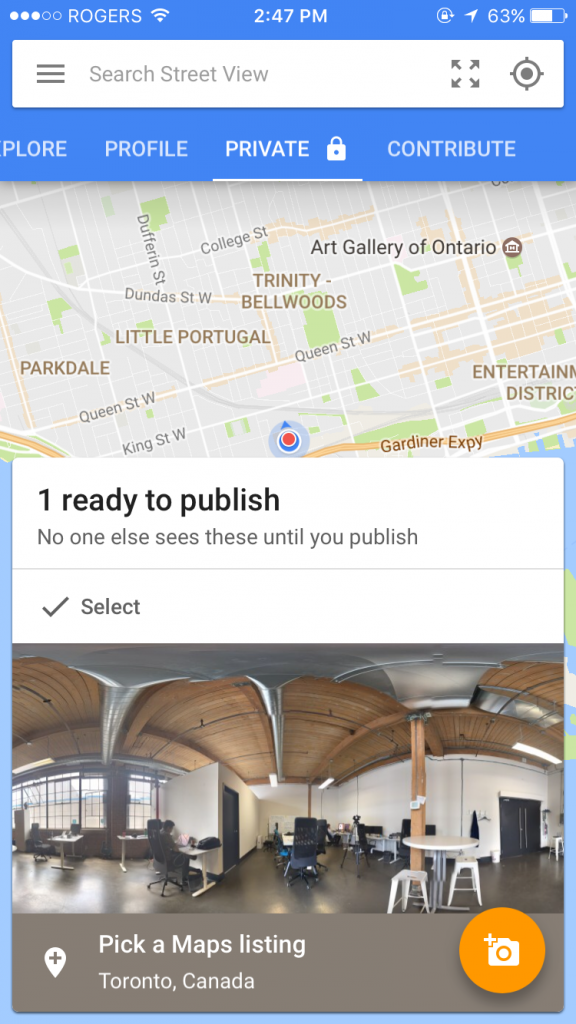
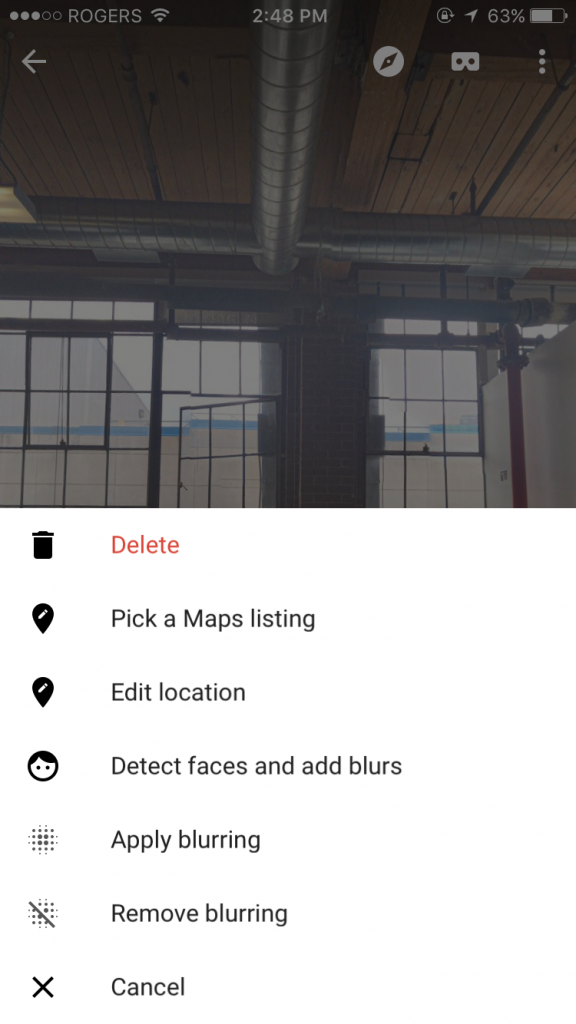
6)Click the ‘Private’ tab. You will see ‘1 ready to publish’. Click that image. You’ll see three dots in the upper right-hand corner. Click this for tagging and geo-location options. Set the address accordingly and hit the checkmark to exit that menu.

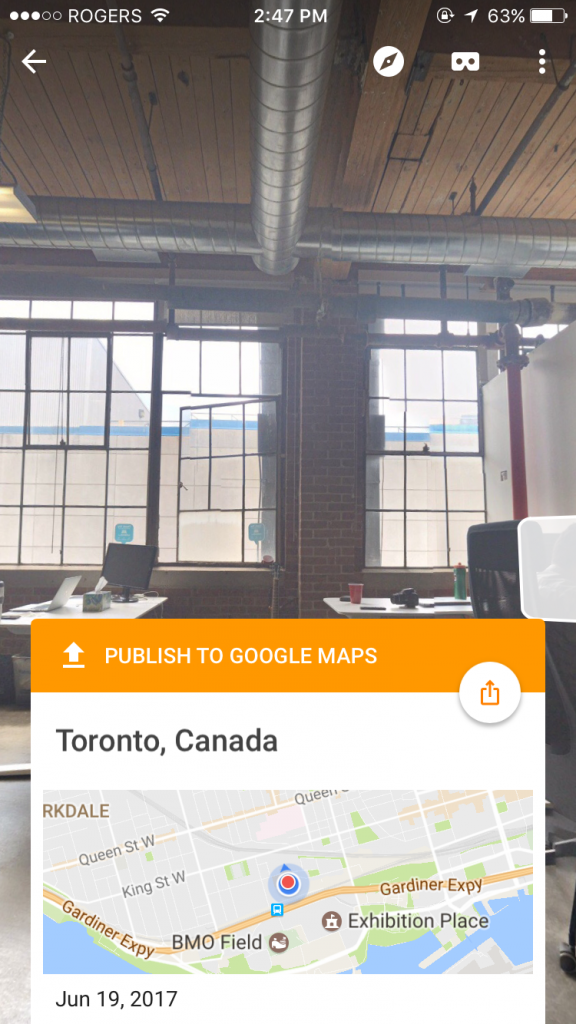
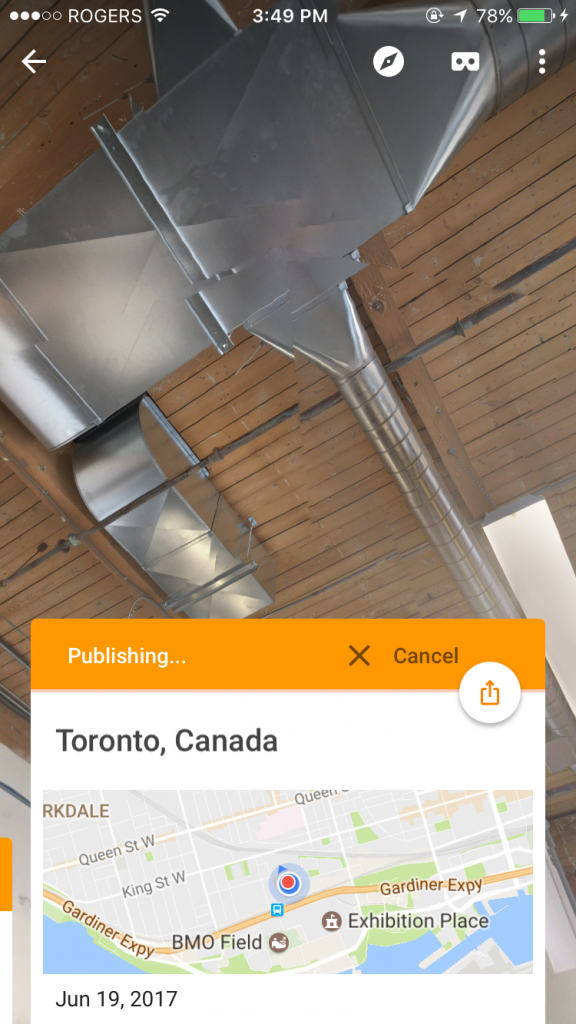
7) Now all that’s left to do is to publish. Click ‘Publish to Google Maps’ and follow all necessary prompts. It’ll take about 2-3 minutes all told, and at the end, you’ll be provided your shareable link which you can add to your social media posts to link directly to the 360ª image. It’ll be attached to the search results associated to the address to which you tagged the post originally within minutes, and viewable by anyone who searches the address on Google – in both images and maps.
To give you an idea of the ease of use, here’s one we shot in our office after approximately a half hour of playing with the Google Street View app using an iPhone 6s running iOS 10. If you’re still using iOS 9, you’ll still be able to use this app.
Verdict
It’s crazy how quietly Google rolled out this function in Google Street View, but that just means that if you’re reading this, you’re more in the loop than 99.9% of real estate professionals out there. Exploit this advantage.
With the ability to offer multiple 360º room views for a single address (no word on how many are allowed, but Google has always allowed multiple views for the same address so long as the content isn’t duplicated), you now have the ability to offer virtual open houses using nothing more than a smartphone, a swivel chair, a wi-fi connection and about an hour of learning – and, of course, the Google Street View.
What this means is that you can guarantee people attending your showings/open houses have already done the preliminary level of observation and want to see more of the property. That’s a great hurdle to have out of the way prior to a showing.
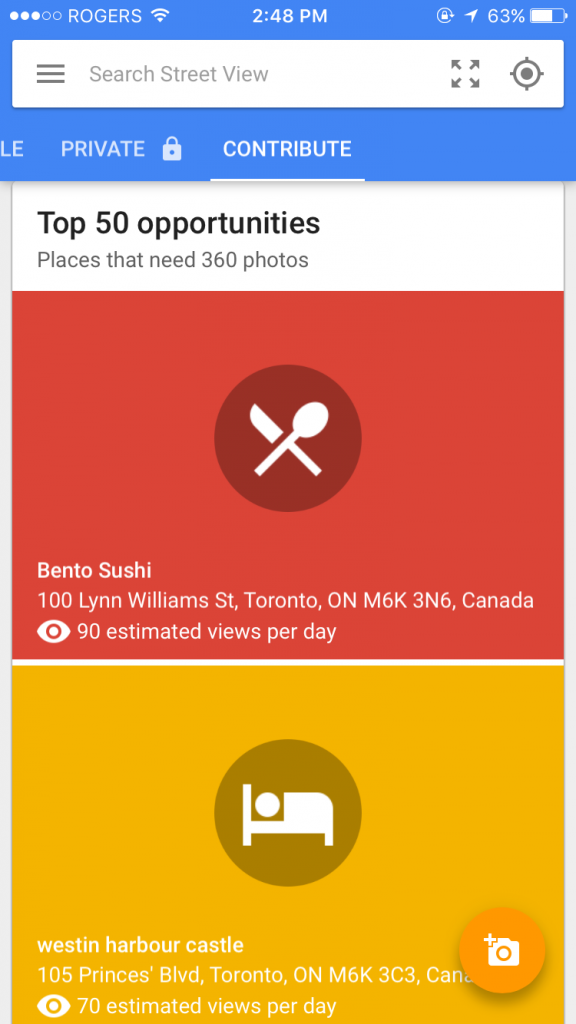
Lastly, in addition to conducting a prospect interview, you can offer to do a 360ª capture of local businesses once you get more comfortable with the method in Google Street View. Once you reach 50 captures, you can select ‘Available for Hire’ in your profile to get listed as a ‘Local Guide’. Local Guides can get paid to do 360º shoots for local businesses!

Privacy Notes
1)Ensure that all faces are blurred in your images – that can be done prior to publishing in the same menu where you labelled the geo-tag with the address. This is to satisfy Google Earth/Street View’s privacy policy.
2)After you close the listing, REMEMBER TO REMOVE ALL IMAGES FROM GOOGLE STREET VIEW. You’re providing looks into a private residence for commercial purposes; once those purposes end, the new owners have a right to privacy and the images should be removed before they request as a courtesy.